Seven Sisters Stargazing Guide: Constellations, Planets & Meteor Showers 2026
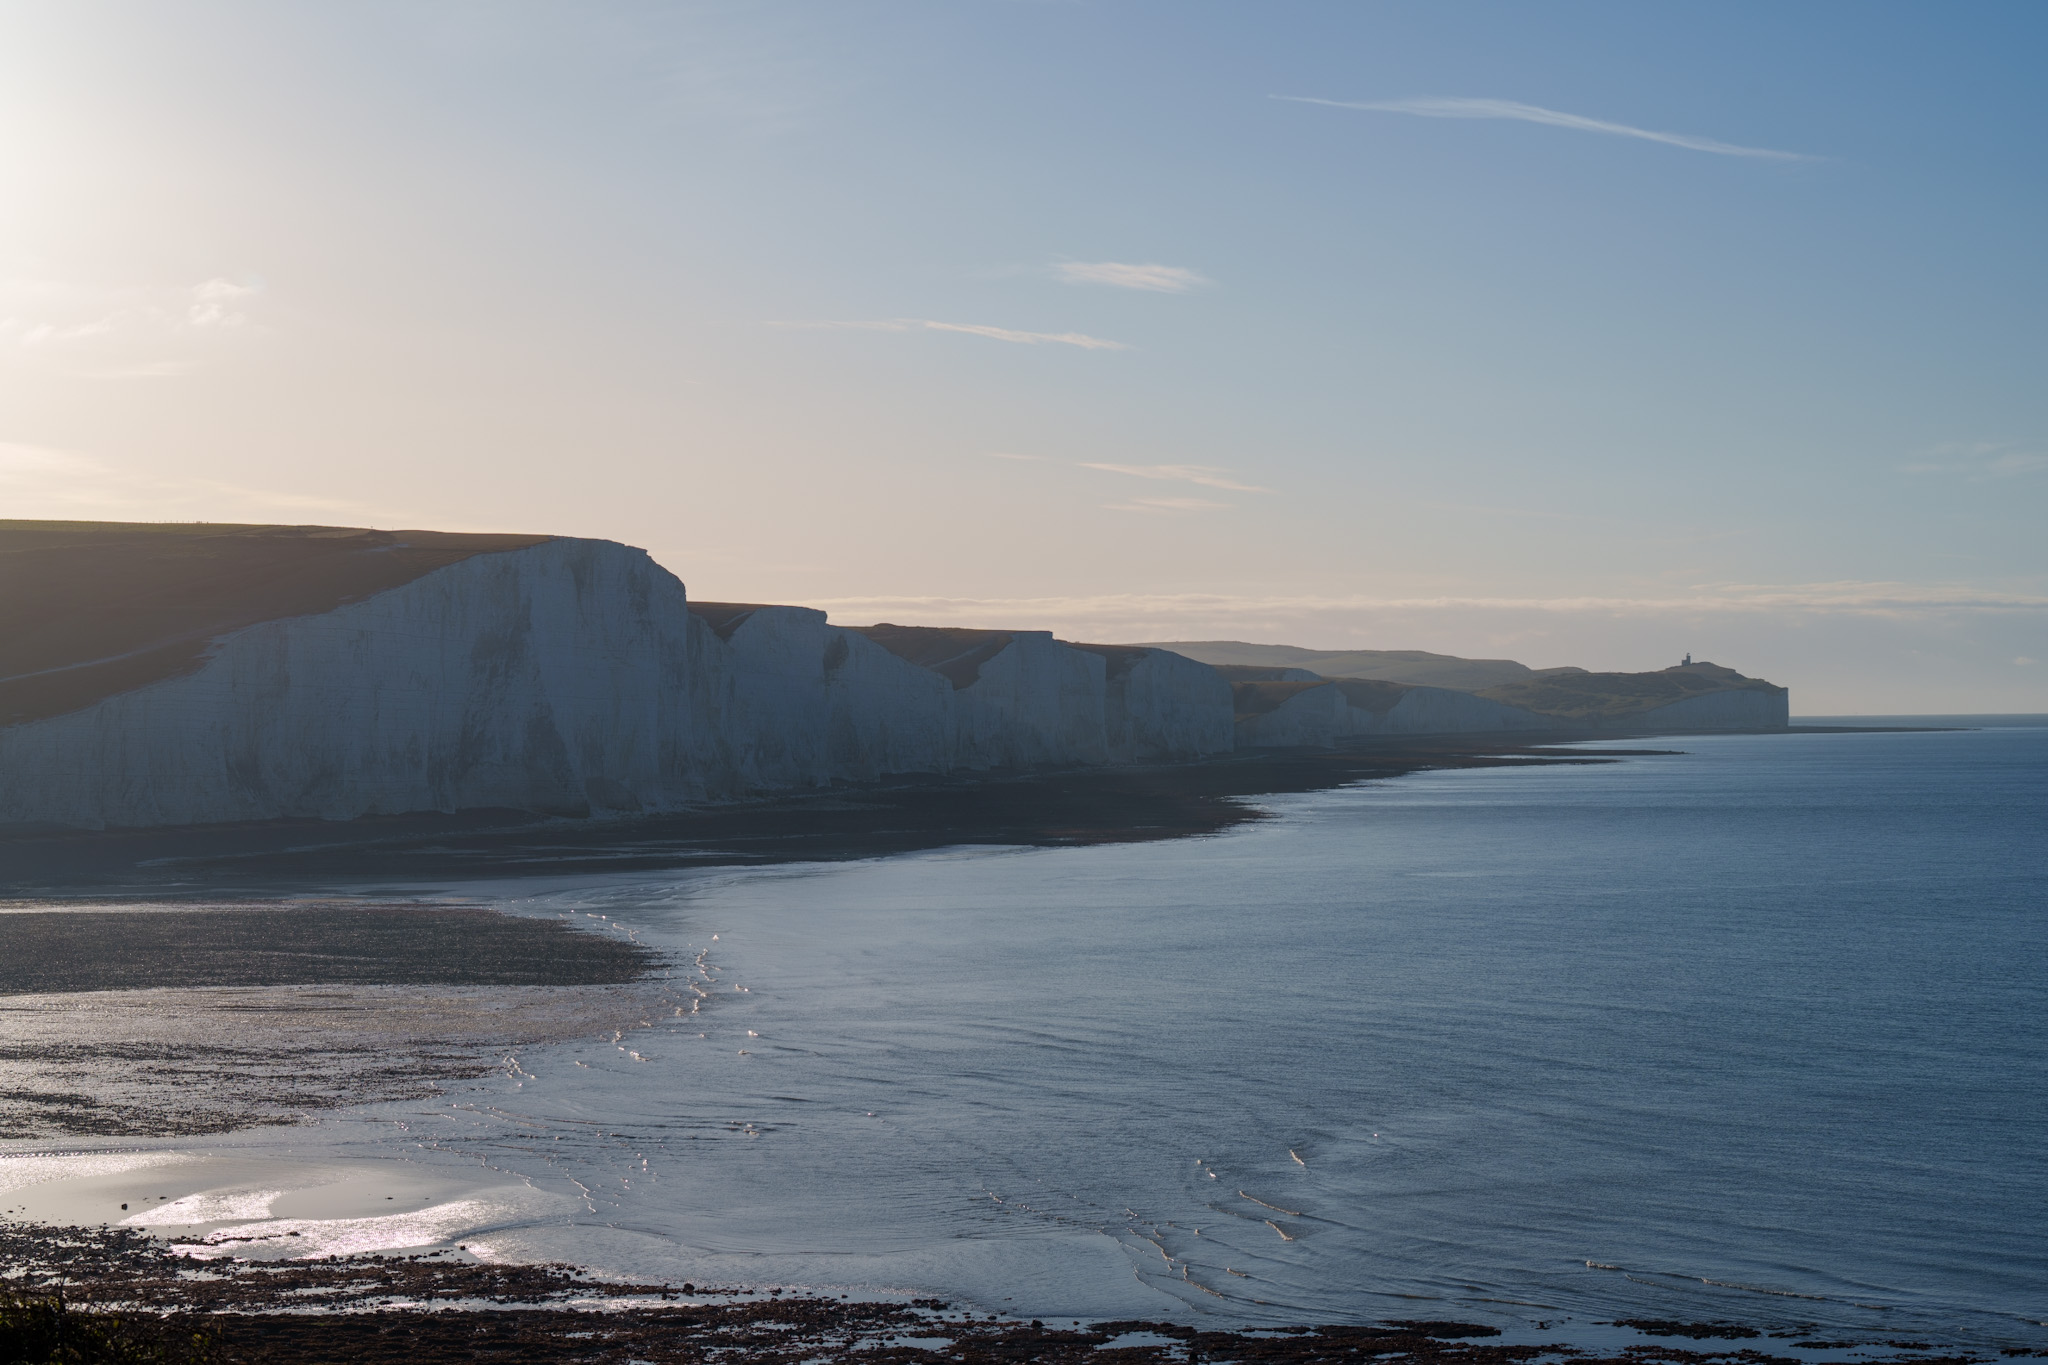
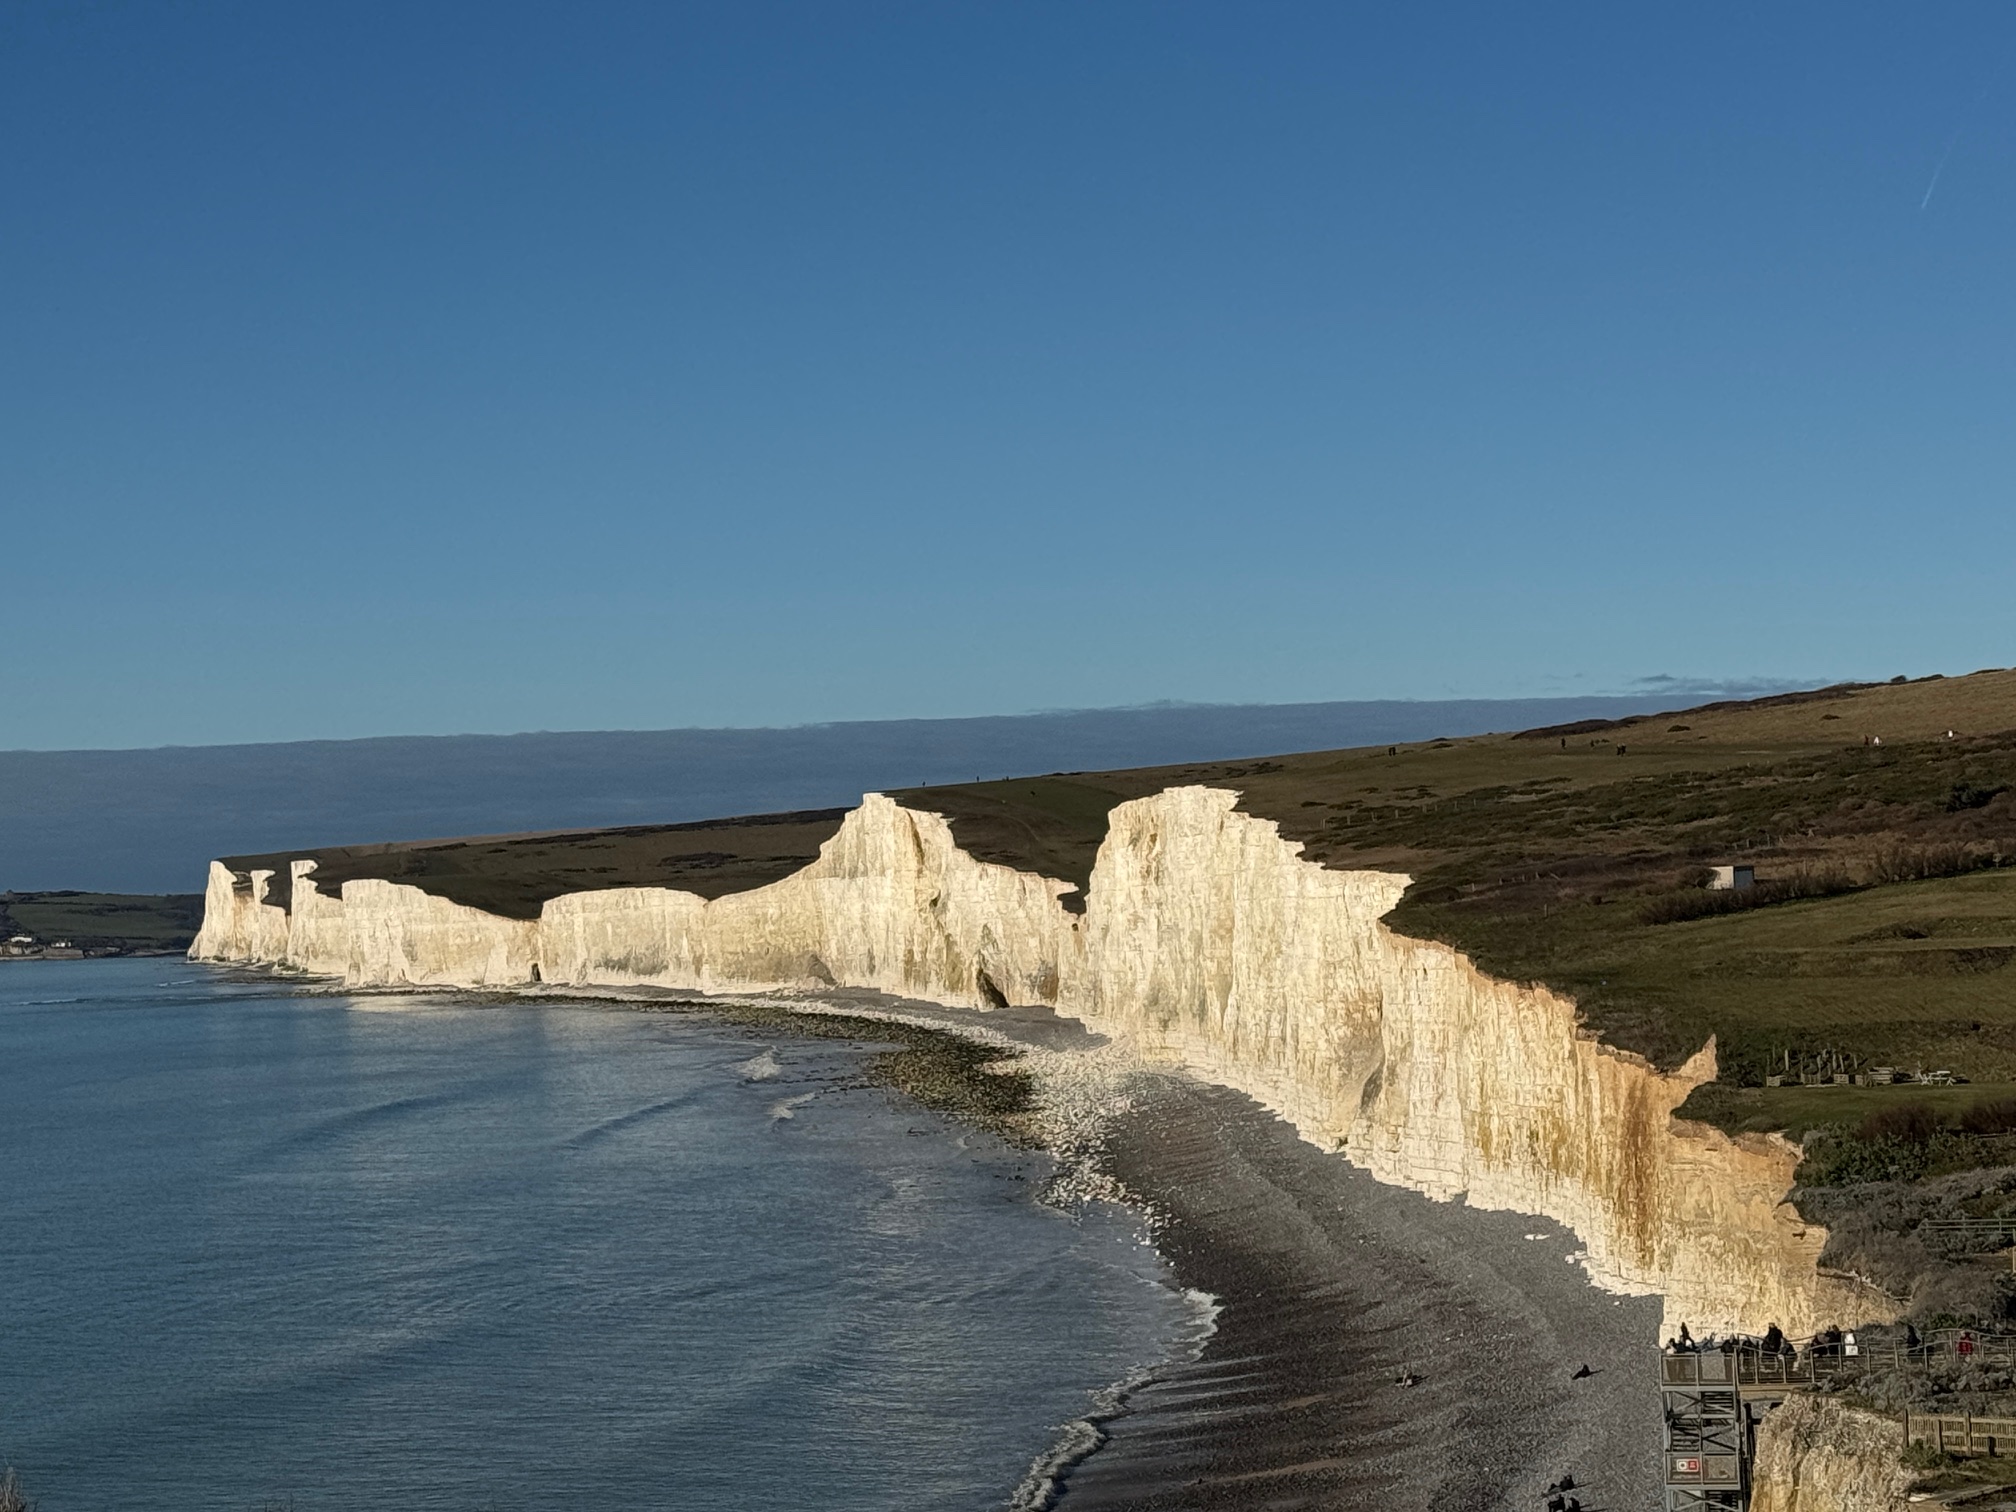
Most people come to Seven Sisters in daylight and leave before dark. Which means most people miss something that's worth staying for. On a clear night away from the coast road, the Milky Way is visible from the clifftop. The sky above Birling Gap isn't the absolute darkness of a highland moor, but it's substantially darker than anywhere in London or Brighton — dark enough to see more than you expected, and quiet enough to make it memorable.
This guide covers what you'll see, when to come, and how to do it safely.
Why Seven Sisters for Stargazing?
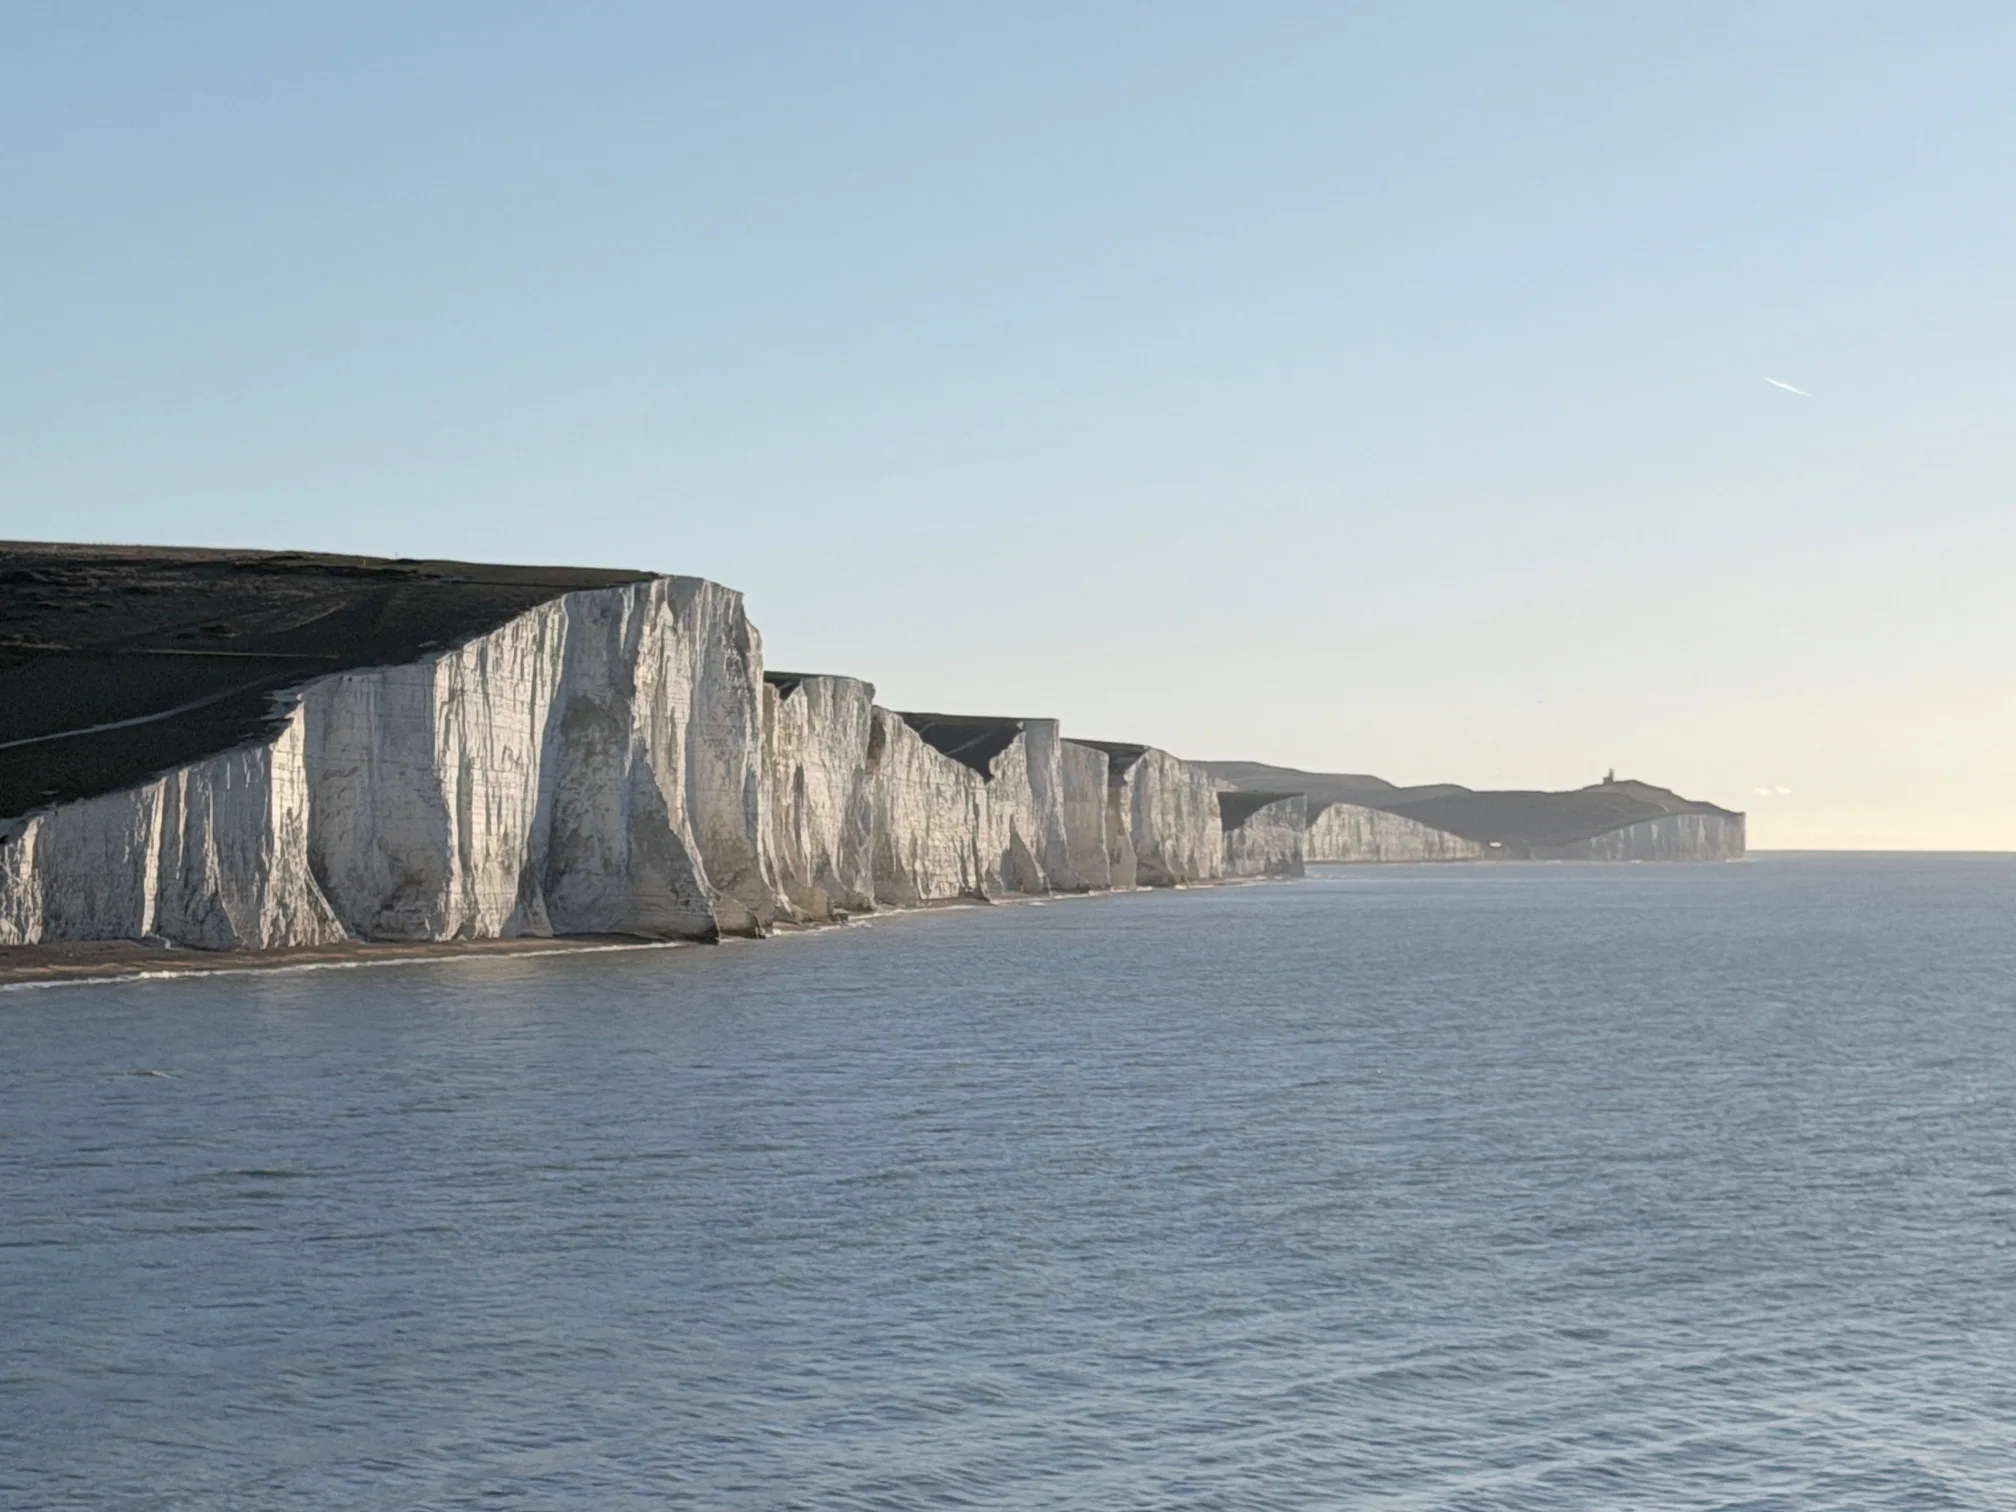
Relative Darkness
Seven Sisters isn't completely dark. Light pollution exists from nearby towns (Eastbourne, Seaford). But it's substantially darker than London or major cities. The cliffs offer vantage points with southern exposure (away from the brightest inland light pollution sources). On clear nights, the Milky Way is visible—not brilliantly as in true dark-sky locations (like dark-sky reserves), but dramatically compared to urban environments.
The light pollution is, roughly:
- Central London: Nearly starless; ~10-20 stars visible. Sky glows orange.
- London suburbs: Perhaps 50-100 stars visible. Sky glows amber.
- Sussex rural areas (including Seven Sisters): 500-1000+ stars visible on clear nights. Milky Way visible as a distinct band. Sky glows pale blue.
- True dark-sky locations (far from cities): 2000+ stars visible. Milky Way is brilliant, obvious. Sky is nearly black.
Seven Sisters offers a substantial improvement over urban stargazing without requiring travel to remote dark-sky locations. For most visitors, it's an adequate compromise—dark enough to be genuinely interesting, accessible enough that visiting is practical.
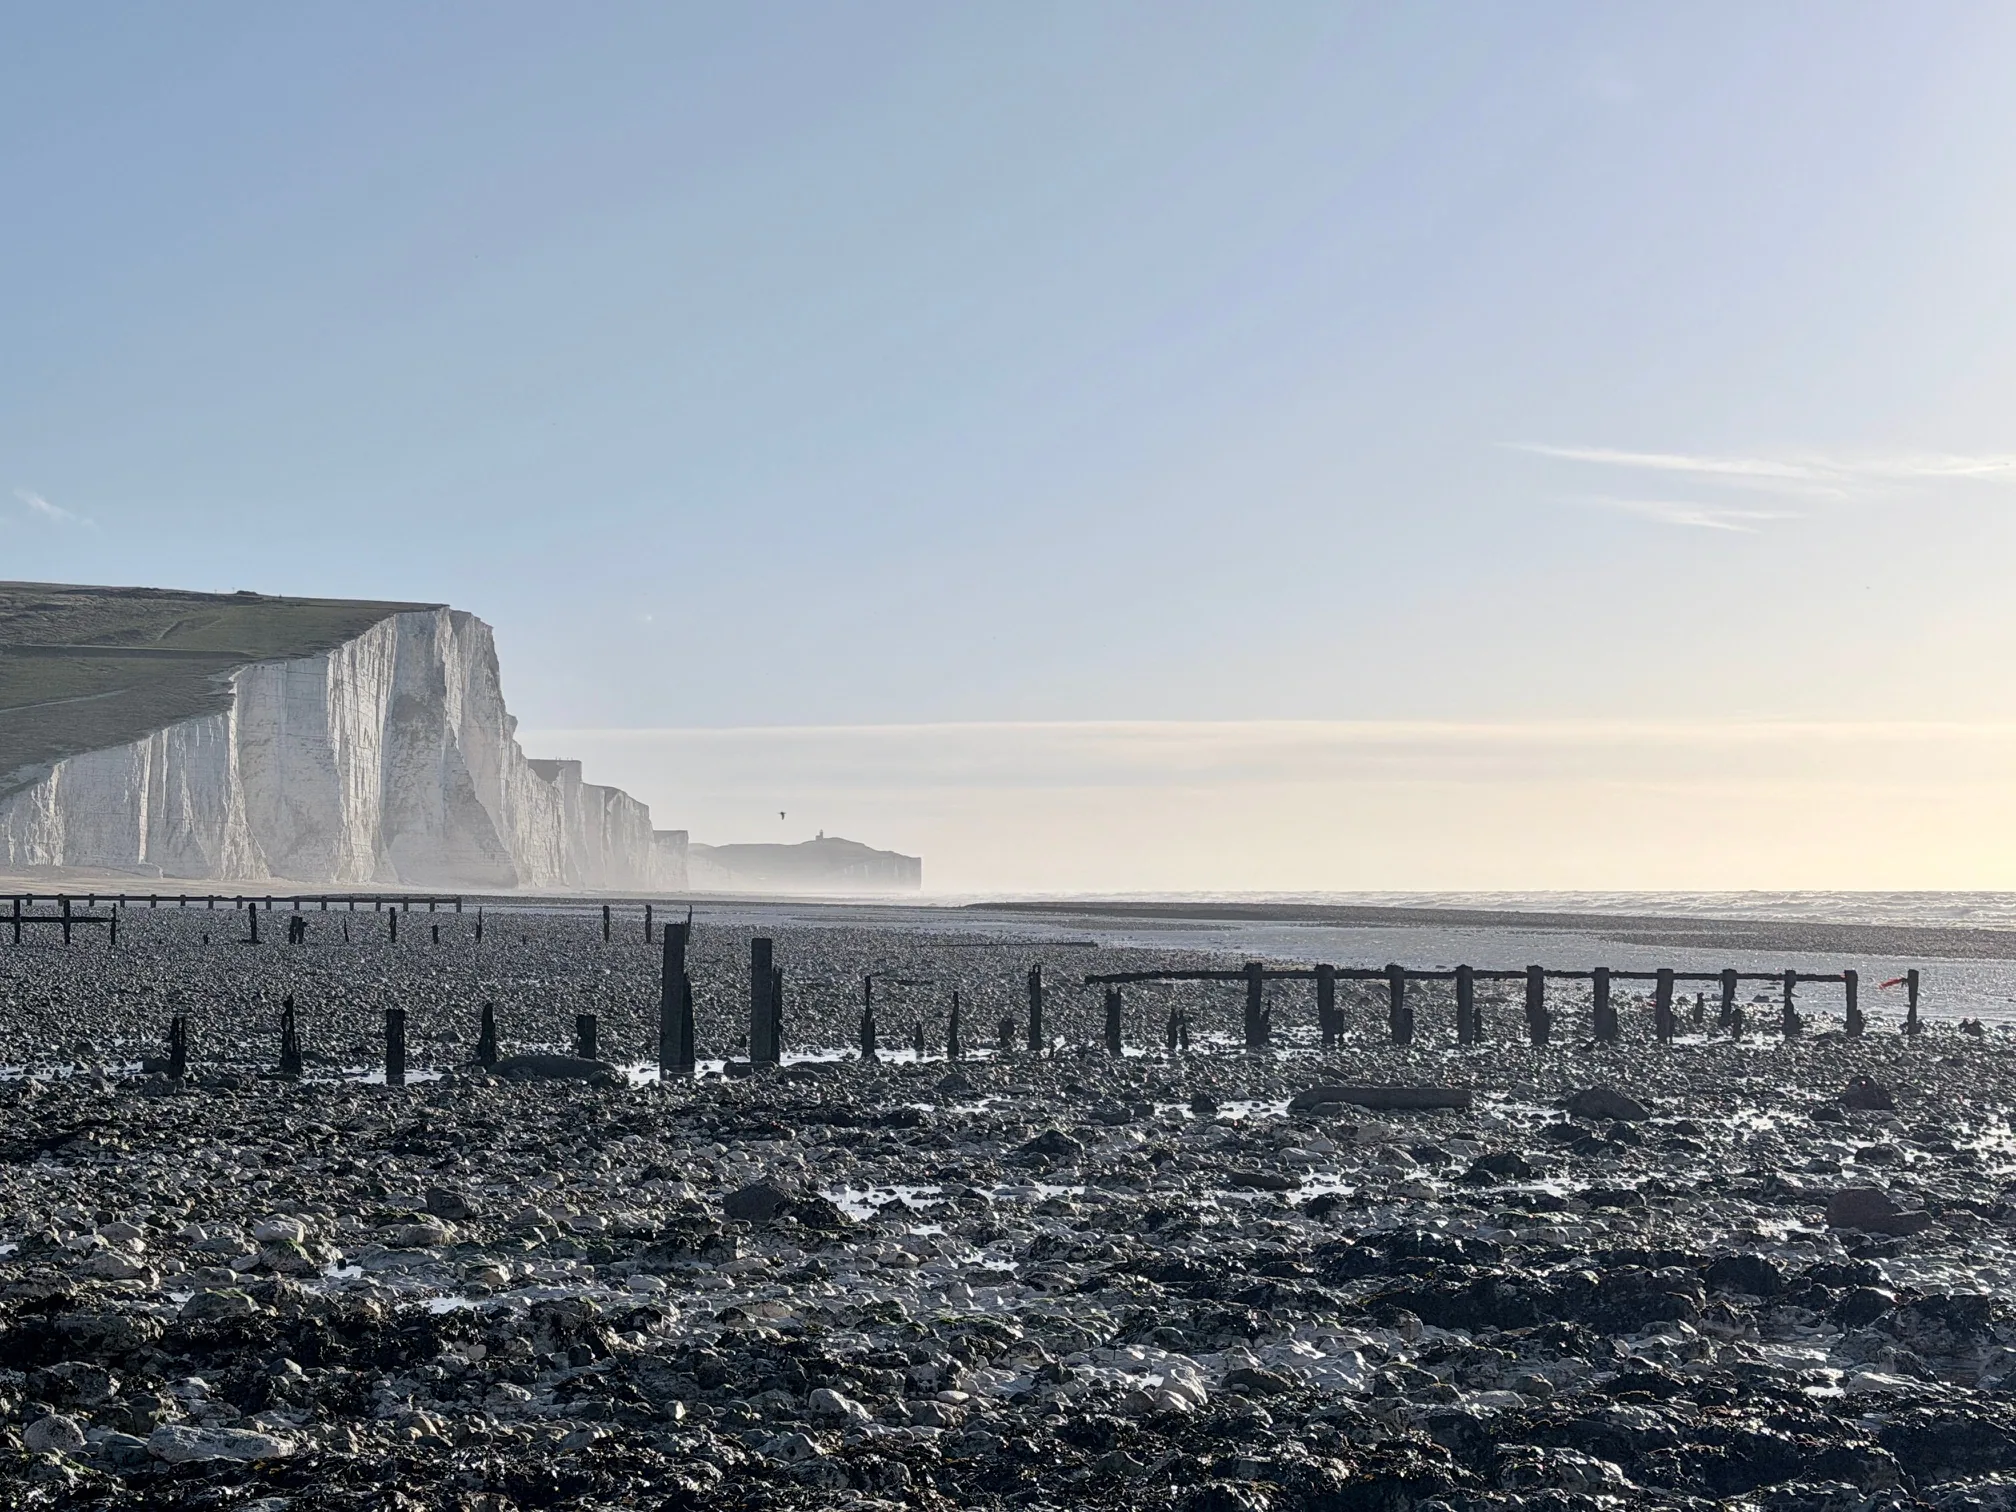
Coastal Advantage
Coastal locations offer advantages for stargazing:
- Fewer trees: Clifftop locations have less vegetation blocking sky views compared to forest areas.
- Stable air: Ocean air is typically more stable than heated land air. This reduces atmospheric turbulence, improving telescope viewing quality (atmospheric "seeing").
- Elevation: Cliffs provide elevation above surrounding terrain, offering broader sky views.
- Clear view to horizon: Useful for early evening viewing of planets near the horizon.
Understanding the Night Sky
Celestial Sphere and Coordinates
Imagine a giant sphere surrounding Earth, with stars painted on its interior surface. This is the "celestial sphere" model—how we conceptualize star positions. Although we know this is metaphorical (stars are at vastly different distances), treating them as if they're on a sphere is useful for navigation and identification.
The celestial sphere has coordinates similar to Earth's latitude and longitude:
- Right Ascension (RA): Celestial equivalent of longitude. Measured in hours (0-24h), with 0h at the vernal equinox. Less intuitive than Earth longitude but useful for telescopes and astronomical software.
- Declination (Dec): Celestial equivalent of latitude. Measured in degrees (-90° to +90°). Sky is visible to declination of approximately +80° from Seven Sisters (far northern declinations are very low in the sky or below the horizon).
For casual stargazing, you don't need to understand coordinates deeply. But knowing that different regions of sky are labeled differently (by RA and Dec) helps when using star charts or astronomy apps.
Apparent Magnitude: Brightness Scale
Stars vary in brightness. "Apparent magnitude" is the standard brightness scale. It's counterintuitive: brighter stars have *lower* magnitude numbers.
- Brightest star (Sirius): Magnitude -1.46
- Vega: Magnitude 0
- Polaris (North Star): Magnitude 2
- Faintest naked-eye stars (excellent dark skies): Magnitude 6-7
- From Seven Sisters (decent dark skies): You can typically see stars down to magnitude 4-5. Under excellent conditions, magnitude 5.5.
For casual stargazing, brightness scale matters for planning. Apps tell you which objects are visible from your location on a given night. Magnitude helps determine what's worth looking for (very faint magnitude 5 objects are challenging; magnitude 0-2 objects are obvious).
Identifying Constellations and Bright Stars
Northern Sky Constellations (Visible Year-Round or Most of Year)
Ursa Major (The Great Bear): Most famous constellation to northern hemisphere observers. Contains the "Big Dipper" asterism (seven bright stars forming a ladle shape). Easy to recognize. Use Big Dipper to find North Star—the two stars forming the cup's edge, extended five times their separation, point to Polaris (North Star).
Ursa Minor (The Little Bear): Much dimmer than Ursa Major. Contains Polaris at the tip of its tail (making Polaris the "north star" by virtue of its position). The asterism is called the "Little Dipper".
Cassiopeia: Distinctive "W" shaped constellation. High in the north sky. Easily recognized once you know what to look for.
Cepheus: Adjacent to Cassiopeia. Shapes like an upside-down house or pentagon. Less obvious than Cassiopeia but distinctive once located.
Draco (The Dragon): Sprawling, faint constellation wrapping around Ursa Minor. More challenging to recognize but well-known to experienced observers.
Zodiacal Constellations (Change Position Through Year)
The zodiac constellations lie along the ecliptic (the path the sun and planets traverse through the sky). Different constellations are visible at different seasons as Earth orbits the sun. These are prime targets for planet observation (planets move along the zodiac).
Notable zodiacal constellations visible at different times:
- Spring (March-May): Leo, Virgo, Libra. Leo is distinctive (bright star Regulus, with asterism of a sickle shape). Virgo is large but less obvious.
- Summer (June-August): Scorpius, Sagittarius, Capricornus. Scorpius is distinctive (curved tail, bright red star Antares). Sagittarius is associated with the Milky Way's densest region.
- Autumn (September-November): Aquarius, Pisces, Aries, Taurus. Taurus is notable (bright star Aldebaran, Pleiades star cluster). Aries is subtle.
- Winter (December-February): Gemini, Cancer, Leo. Gemini is distinctive (twin bright stars Castor and Pollux). Cancer is subtle but holds the impressive Beehive Cluster.
Summer Triangle (Summer-Autumn)
A helpful asterism visible in summer and autumn: three bright stars form a large triangle. The stars are Vega (in Lyra), Deneb (in Cygnus), and Altair (in Aquila). Recognizing this triangle helps orient yourself in the summer sky.
Orion (Winter Star Pattern)
The most obvious and beautiful winter constellation. Distinctive hourglass shape, bright stars, and the prominent Orion Nebula (visible to naked eye as a hazy patch) in Orion's sword. Highly recommended target for winter stargazing.
Planet Identification and Observation
Visible Planets from Earth
Five planets are regularly visible to the naked eye: Mercury, Venus, Mars, Jupiter, and Saturn. (Uranus and Neptune are theoretical targets for telescopes only; faint and difficult to spot naked-eye even from dark skies.)
- Mercury: Always close to the sun, visible only near sunrise or sunset. Challenging target. Small and faint compared to other planets.
- Venus: Brightest planet, often bright enough to see in daylight. Easy target. Morning or evening visibility depending on season. Called "Morning Star" or "Evening Star" depending on when visible.
- Mars: Distinctive reddish colour. Variably bright depending on Earth-Mars orbital alignment. At favorable times (close approach), Mars is very bright and obvious. At other times, much dimmer.
- Jupiter: Second brightest planet (after Venus). Obvious point of light. Visible through binoculars or small telescope, you can see bands (cloud layers) and four bright moons.
- Saturn: Distinctly less bright than Jupiter but still obvious. Dimmer golden colour. Rings are visible through binoculars and small telescopes, making it the most spectacular planetary target.
Tracking planet positions: Astronomy apps (SkySafari, Stellarium, etc.) show planet positions on any date. Apps are invaluable for planning planet observation. Check current positions before evening stargazing sessions.
Planetary Events Worth Planning Around
- Conjunctions: Two planets appear very close in the sky (though still far apart in space). The visual proximity creates impressive photo opportunities and interesting viewing.
- Oppositions: A planet is directly opposite the sun (from Earth's perspective). This puts the planet at closest approach and brightest visibility. Mars opposition (happens roughly every 2 years) is prime Mars observation time.
- Transits: A planet passes in front of the sun (from Earth's view). Very rare events. Venus transits occur in pairs eight years apart, then don't recur for more than 100 years. If a Venus transit is visible, it's absolutely worth observing (with solar filters or projection method—NEVER look directly at the sun).
Meteor Showers and Comets
Annual Meteor Showers
Meteor showers occur when Earth passes through debris trails left by comets. As particles enter the atmosphere, they burn, creating "shooting stars".
Major annual meteor showers visible from Seven Sisters:
- Perseids (August 10-13): Peak of 50-100+ meteors per hour under ideal conditions. Best viewed in early morning hours (after midnight). One of the most reliable and impressive showers.
- Geminids (December 13-14): Peak of 30-50 meteors per hour. Occurs in winter (cold viewing conditions). Best after midnight.
- Quadrantids (January 3-4): Peak of 25-40 meteors per hour. Winter viewing (cold conditions). Short peak period (only ~6 hours of peak activity).
- Lyrids (April 22-23): Moderate shower, 10-20 meteors per hour. Occurs in spring (mild temperatures, good time).
- Eta Aquarids (May 6-7): Moderate to good shower, 10-50 meteors per hour. Late spring viewing (pleasant temperatures).
Viewing strategy for meteor showers: Find a location away from light pollution (Seven Sisters qualifies). Lie flat on your back (comfortable on a reclining chair or with cushions). Look at empty sky (not toward the radiant point—meteors appear everywhere, not just at radiant). Plan for 1-2 hours of viewing. Peak hours are after midnight. Eyes require 20-30 minutes of darkness to adapt; don't use lights. Best nights are those with clear skies and no moon (moon's light interferes with fainter meteors).
Comets
Comets are rare naked-eye objects, but when visible, they're spectacular. Historical naked-eye comets include Comet Hale-Bopp (1997) and Comet Hyakutake (1996). Between bright comets, years or decades may pass.
Recent and upcoming comets (as of 2026): Astronomy organizations and apps track comets and predict visibility. Check resources for current visibility forecasts.
Practical Stargazing at Seven Sisters
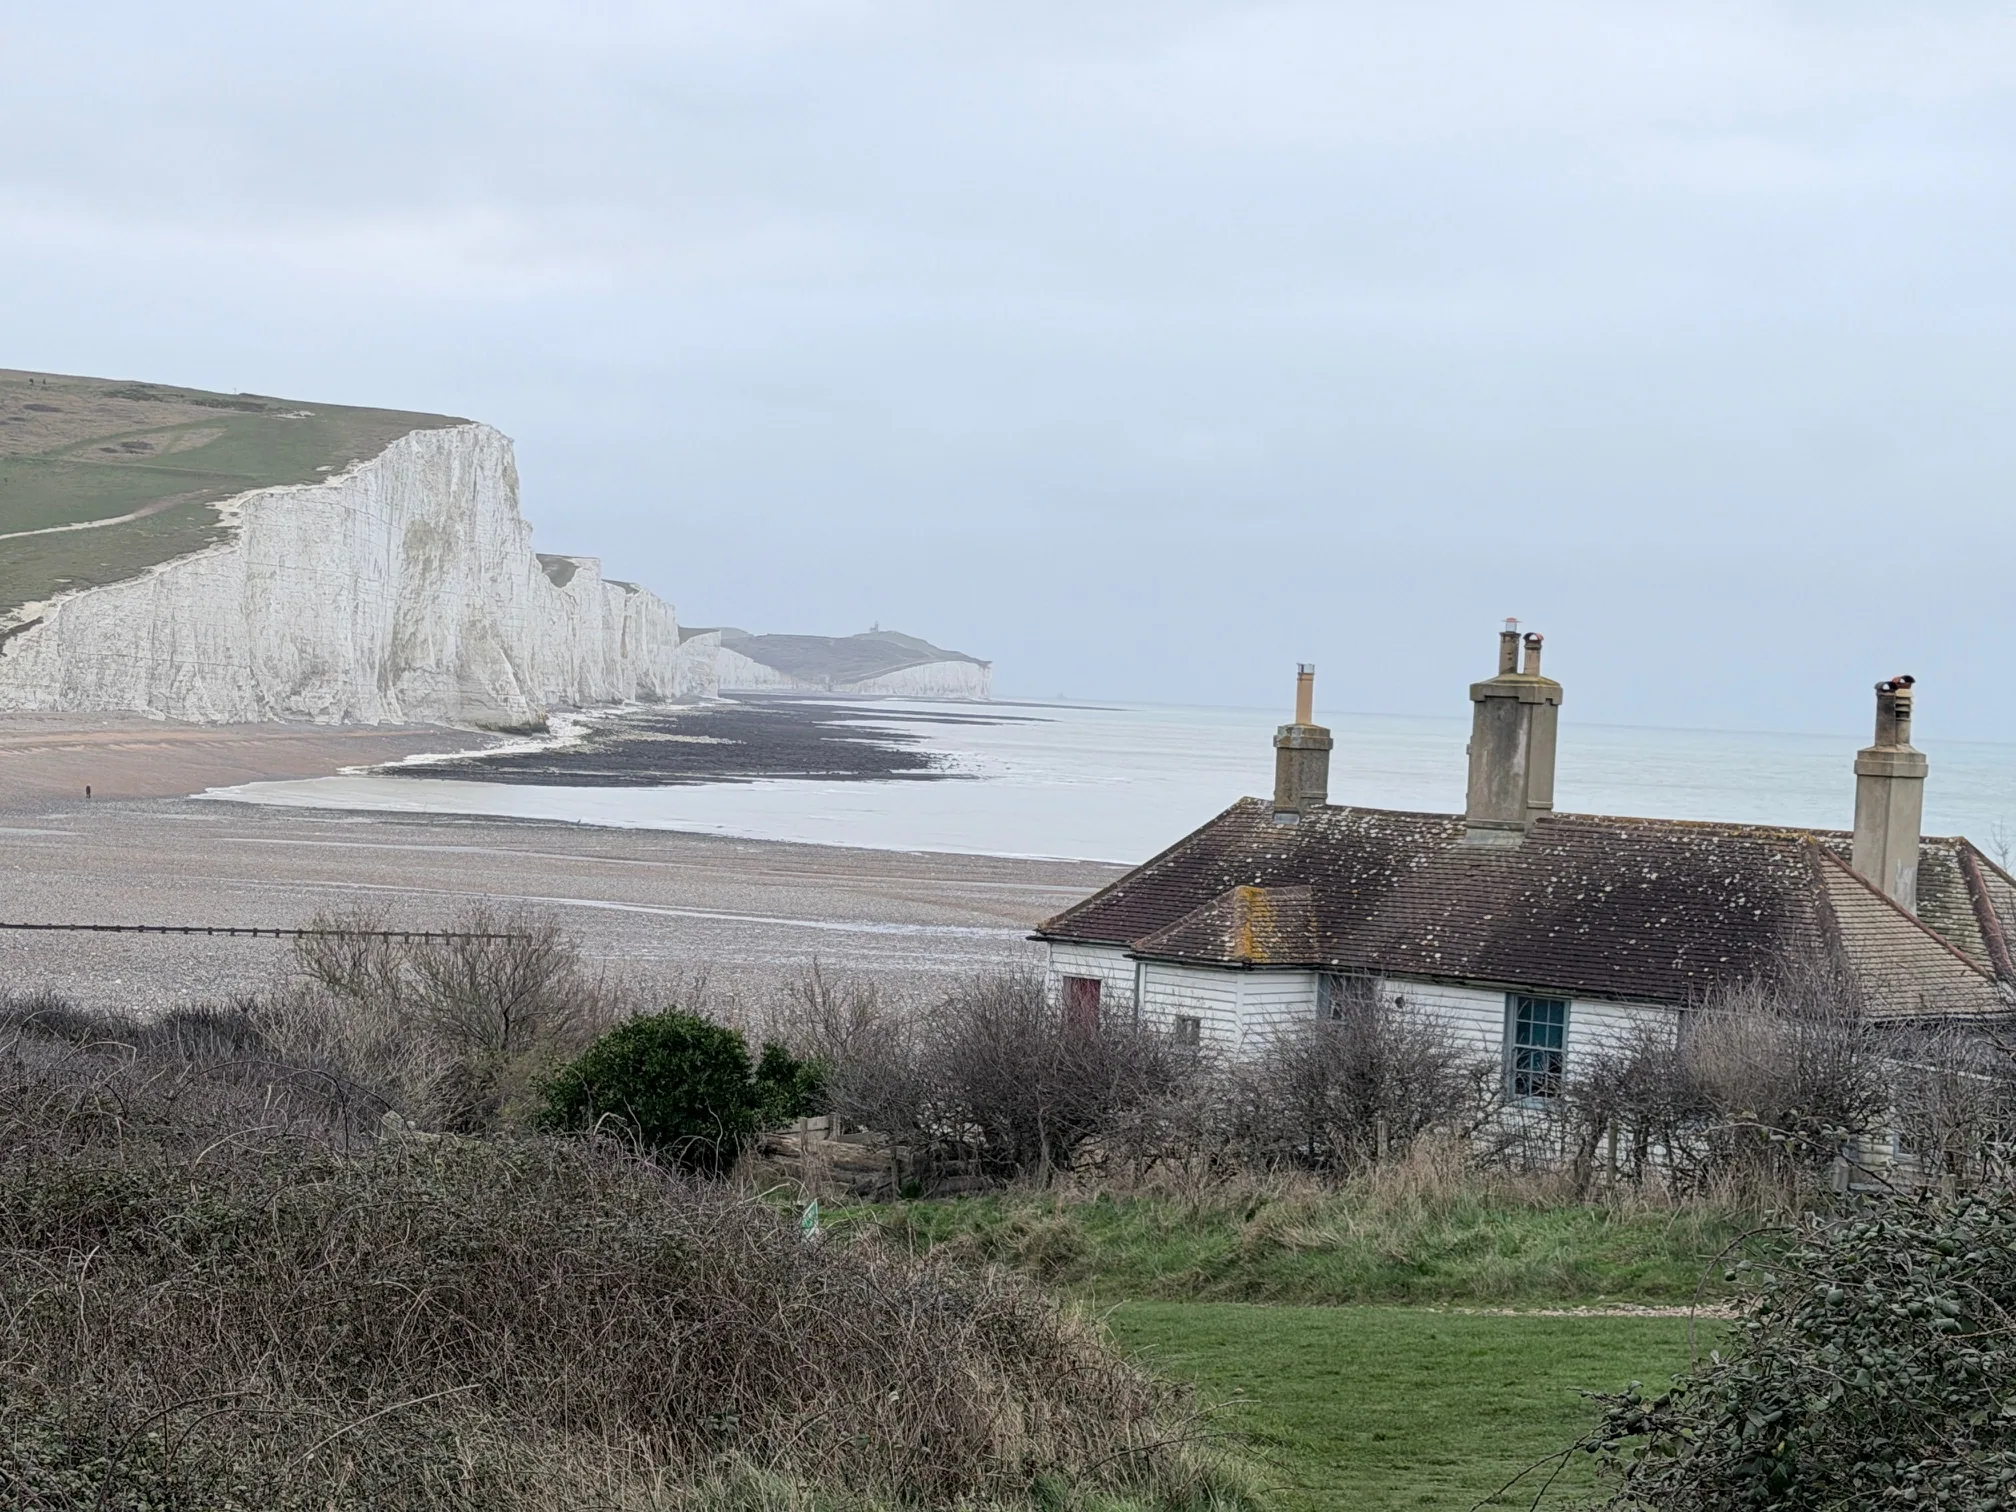
Location Selection
Not all clifftop locations are equally good for stargazing:
- Avoid lit areas: Visitor centres and car parks have lights. Move away from these to darker areas. Even 500 metres away makes a significant difference.
- South-facing exposure: Minimize light pollution from inland towns by positioning yourself looking southward over the sea (away from inland light sources).
- Elevation: Higher locations (clifftop vs. beach level) have clearer view to horizon and broader sky view. Clifftop is better than nearby locations at lower elevation.
- Avoid moonlit nights if possible: A bright moon washes out fainter stars. For serious stargazing, plan around new moon or moonless nights. Check lunar calendar before planning.
Weather and Timing
Clear skies are essential. Clouds completely ruin stargazing. Check weather forecasts carefully. Even one night of clear skies in an otherwise cloudy week is worth planning around.
Atmospheric transparency: After rain, air typically clears and visibility improves—good time for stargazing. Autumn and winter often have clearer, more stable air than summer (which can have haze).
Darkness timing: Twilight lasts roughly 1-2 hours after sunset (and before sunrise). Complete darkness occurs roughly 1-2 hours after sunset. For evening stargazing, wait until full darkness before serious observing. For morning stargazing (before dawn), begin 1-2 hours before sunrise.
Equipment
Naked eye (unaided vision): Perfectly adequate for constellation identification, bright planets, and meteor showers. No equipment required. Safest option for casual viewing.
Binoculars (7x50 or 10x50): Greatly enhance stargazing experience. Binoculars show more stars (you see dimmer objects), reveal details (moon craters, Jupiter's moons), show star colors better, and reveal star clusters (like Pleiades) as spectacular fields of stars. Binoculars cost $50-200 depending on quality. Highly recommended for serious casual stargazing (better than nothing but not a telescope).
Telescope: Offers highest magnification and light-gathering power. But telescopes are expensive ($200-2000+), require careful alignment, need dark adaptation and practice, and have a steeper learning curve. Recommended for committed amateur astronomers rather than casual observers.
Red-light flashlight: Preserves night vision while allowing you to check star charts. Red light doesn't suppress the rod cells in your eyes responsible for night vision (blue/white light does). Use red flashlight only; never use white light.
Star chart or app: Critical for identifying constellations and planning observations. Print star charts (from websites like Stellarium) showing current night sky, or use astronomy apps on smartphone. Apps are convenient; print charts are better if your phone battery is limited.
Comfort and Safety
- Dress warmly: Nights are cold. Bring more layers than you think necessary. Thermal layers, hats, and gloves matter even in summer.
- Bring a reclining chair or cushions: You're lying on your back looking up for extended periods. Comfort dramatically improves the experience (and prevents neck pain).
- Inform someone of your location and expected return. Stargazing often extends longer than expected. Leaving word prevents others from worrying.
- Be aware of cliff edges: Darkness makes visual navigation challenging. Know where the cliff edge is before darkness falls. Mark it mentally or with a light reference. Stay back from edges.
- Avoid sudden bright light: Someone turning on a flashlight destroys everyone's night vision. Use red light only. Warn others.
Astrophotography at Seven Sisters
Camera Requirements
Basic requirement: A camera that allows manual exposure control (shutter speed, aperture, ISO). DSLRs and mirrorless cameras are ideal. Modern smartphones have improved night modes but lack manual control needed for optimal results.
Key settings:
- Shutter speed: 15-30 seconds (determines exposure duration). Longer exposures gather more light but risk star trailing (stars appear as trails rather than points due to Earth rotation).
- Aperture: Wide open (f/2.8 or wider if possible). Gathers maximum light.
- ISO: High (1600-3200 or higher depending on camera and noise tolerance). Compensates for low light.
- Tripod: Essential. Camera must be completely steady for long exposures.
Milky Way Photography
Photographing the Milky Way's core (concentrated around Sagittarius, visible May-September) is dramatic. The bright band of billions of stars creates a recognizable structure impossible to capture with phone cameras but achievable with proper equipment.
Optimal conditions: New moon or moonless nights, southern sky view (away from inland light pollution), summer/autumn (when Milky Way is highest in the sky), minimal haze or clouds.
Technique: Point camera south, use widest lens available (e.g., 24mm or wider), manual settings as above, use tripod, take test exposures to dial in settings, then capture final images. Post-processing (adjusting levels, color balance, saturation) significantly improves results.
Meteor Photography
Photographing meteors is challenging (unpredictable timing) but rewarding. Camera must be pointed at the sky, set to continuous rapid-fire exposure mode, left running during meteor shower peak. Patience is required—you'll take hundreds of exposures to capture a single good meteor streak. When successful, the results are striking.
Light Pollution Advocacy
Light pollution is increasing. Excessive artificial lighting makes stargazing progressively harder. Supporting advocacy for reducing light pollution helps preserve the night sky:
- Support Dark Sky initiatives: Dark-sky certified parks and reserves have lighting regulations to preserve night sky. Support these programs.
- Advocate for responsible lighting: Dark-sky advocates push for lighting that minimizes sky glow (shielded lights, lower color temperature, motion-activated systems). Politically supporting these measures helps.
- Reduce personal light pollution: Use exterior lights minimally at home. Support efforts locally to reduce unnecessary outdoor lighting.
Planning a Night Visit?
For safety on the clifftop after dark, our cliff safety guide covers the essentials. For what else is happening after dark, the wildlife guide covers the nocturnal species you might hear on the walk back.
We may earn a small commission on bookings made through this link, at no extra cost to you. More info.
Free PDF · Instant download, saved to your phone
The Free Seven Sisters Walking Guide
Built on first-hand walks from Seaford to Eastbourne — the named cliffs, route waypoints with distances, tide windows and emergency access points. Everything you need to set off with confidence.
- All 7 named cliffs, in order
- Route waypoints with distances
- Tide windows for beach sections
- Emergency access points
Planning the whole day? Get the complete 24-page Ultimate Guide — £4.99
Want an expert-led Seven Sisters tour?
From guided cliff walks and wildlife safaris to geology hikes and photography tours — explore all our curated experiences with local guides.