We Ruined a Pair of Trail Runners on the Seven Sisters Shingle: What We Actually Carry Now
The trail runners were Salomon Speedcross 5s. Excellent shoes. 400 miles of trail running, mostly dry, mostly forest, before we brought them to Seven Sisters. Six walks on the shingle section between Birling Gap and Cuckmere Haven later, the heel cup had collapsed on the left shoe, the sole had delaminated at the toe on both, and the upper mesh had micro-tears along the forefoot where flint edges had caught it repeatedly.
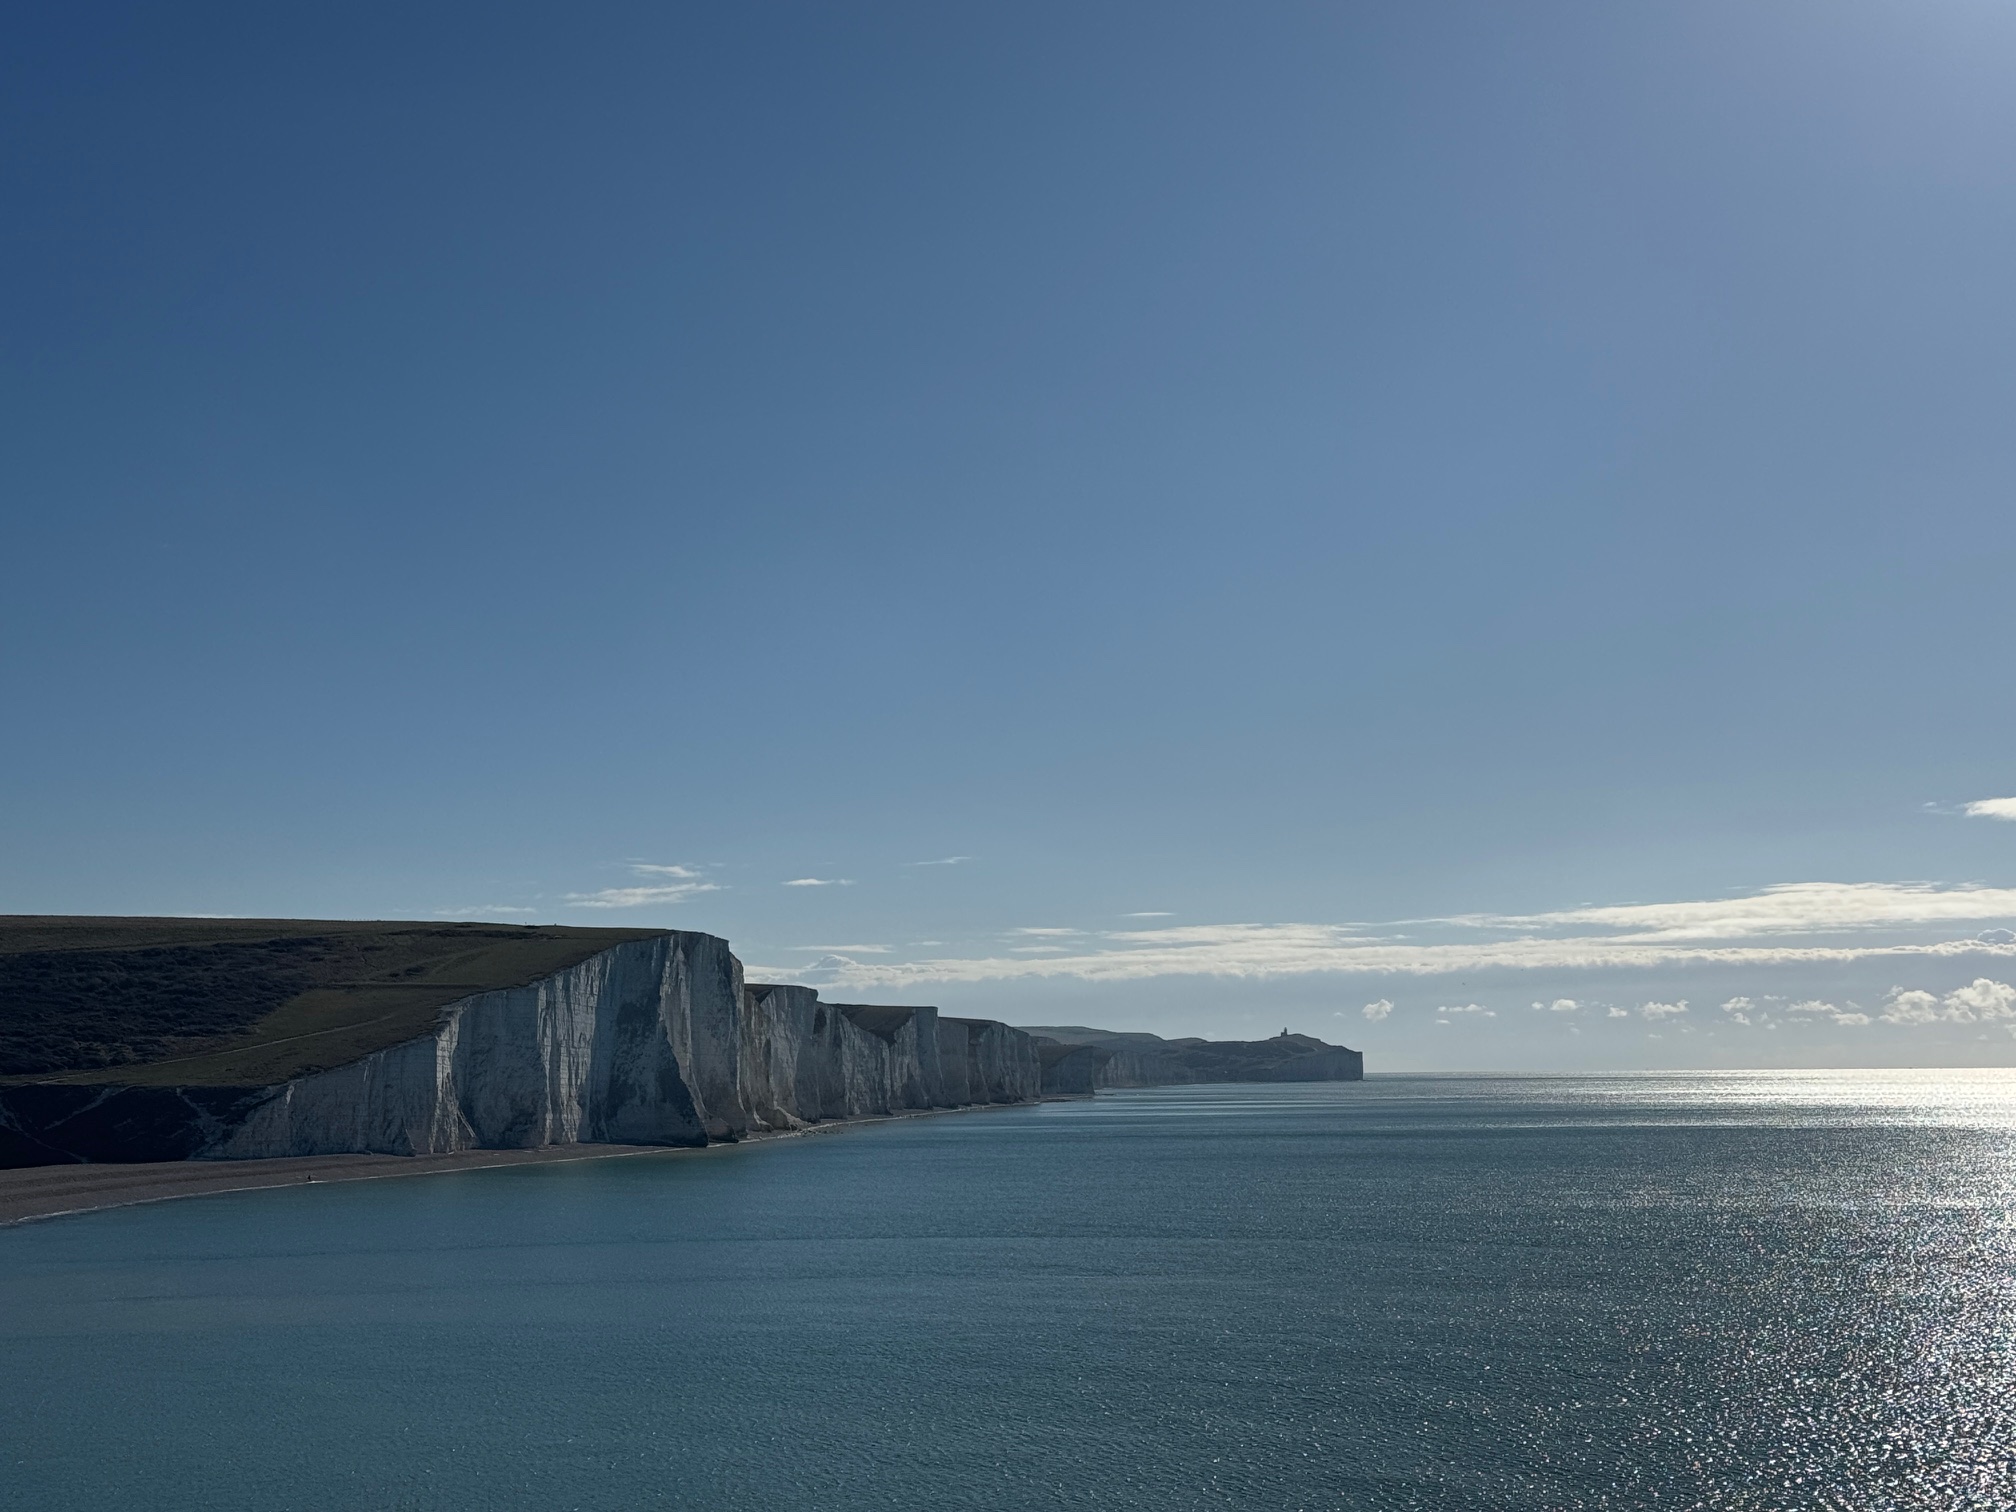
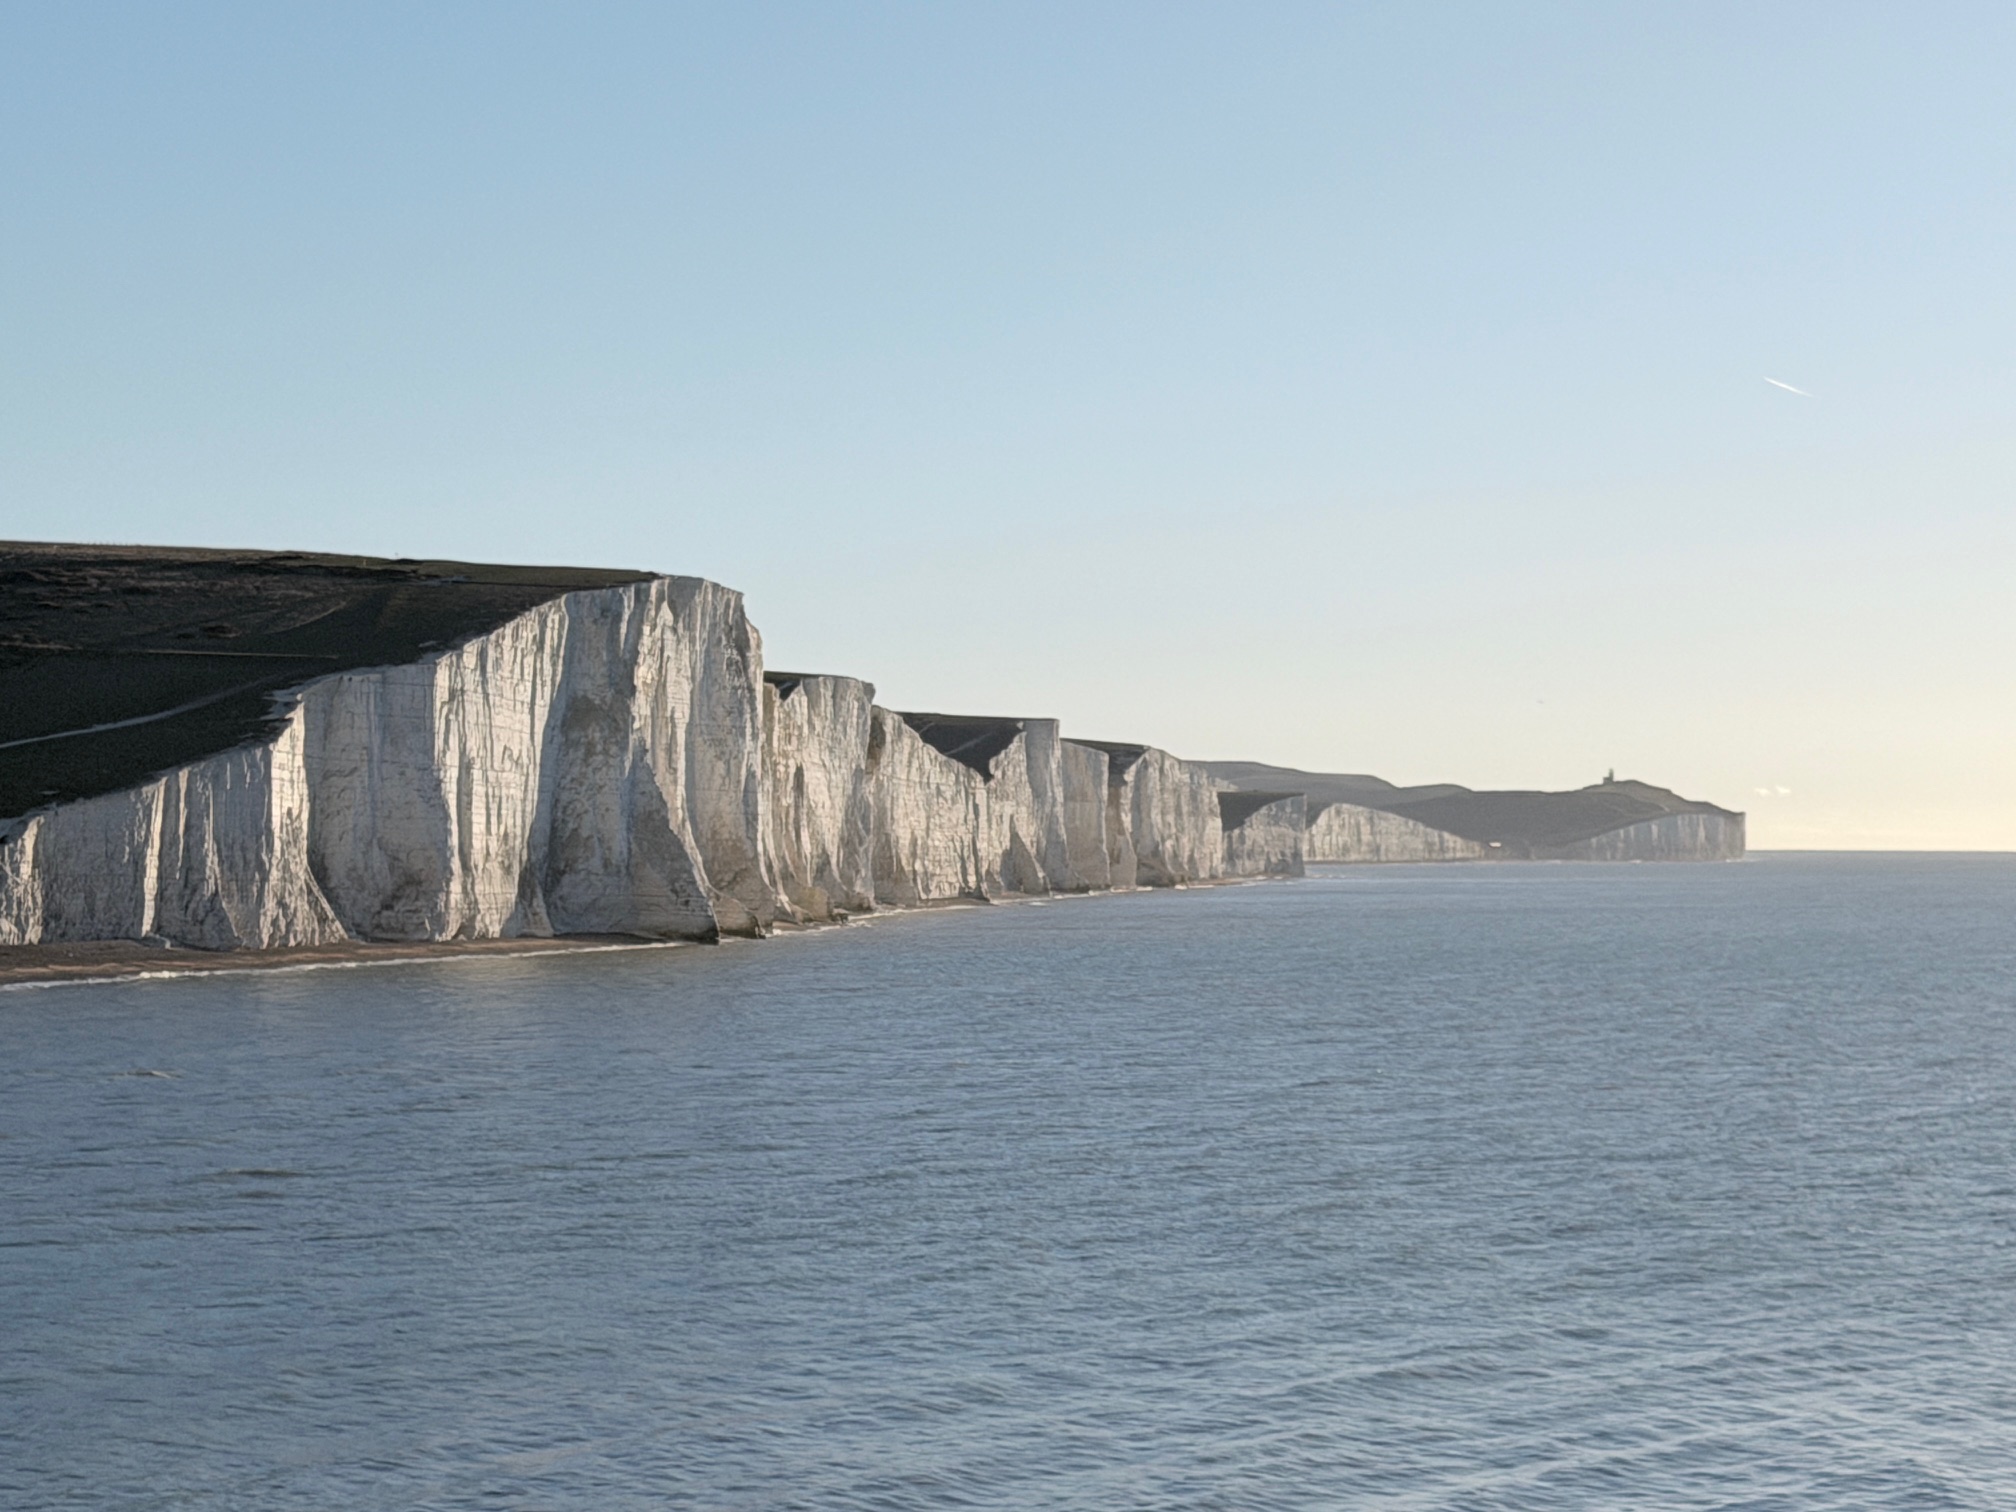
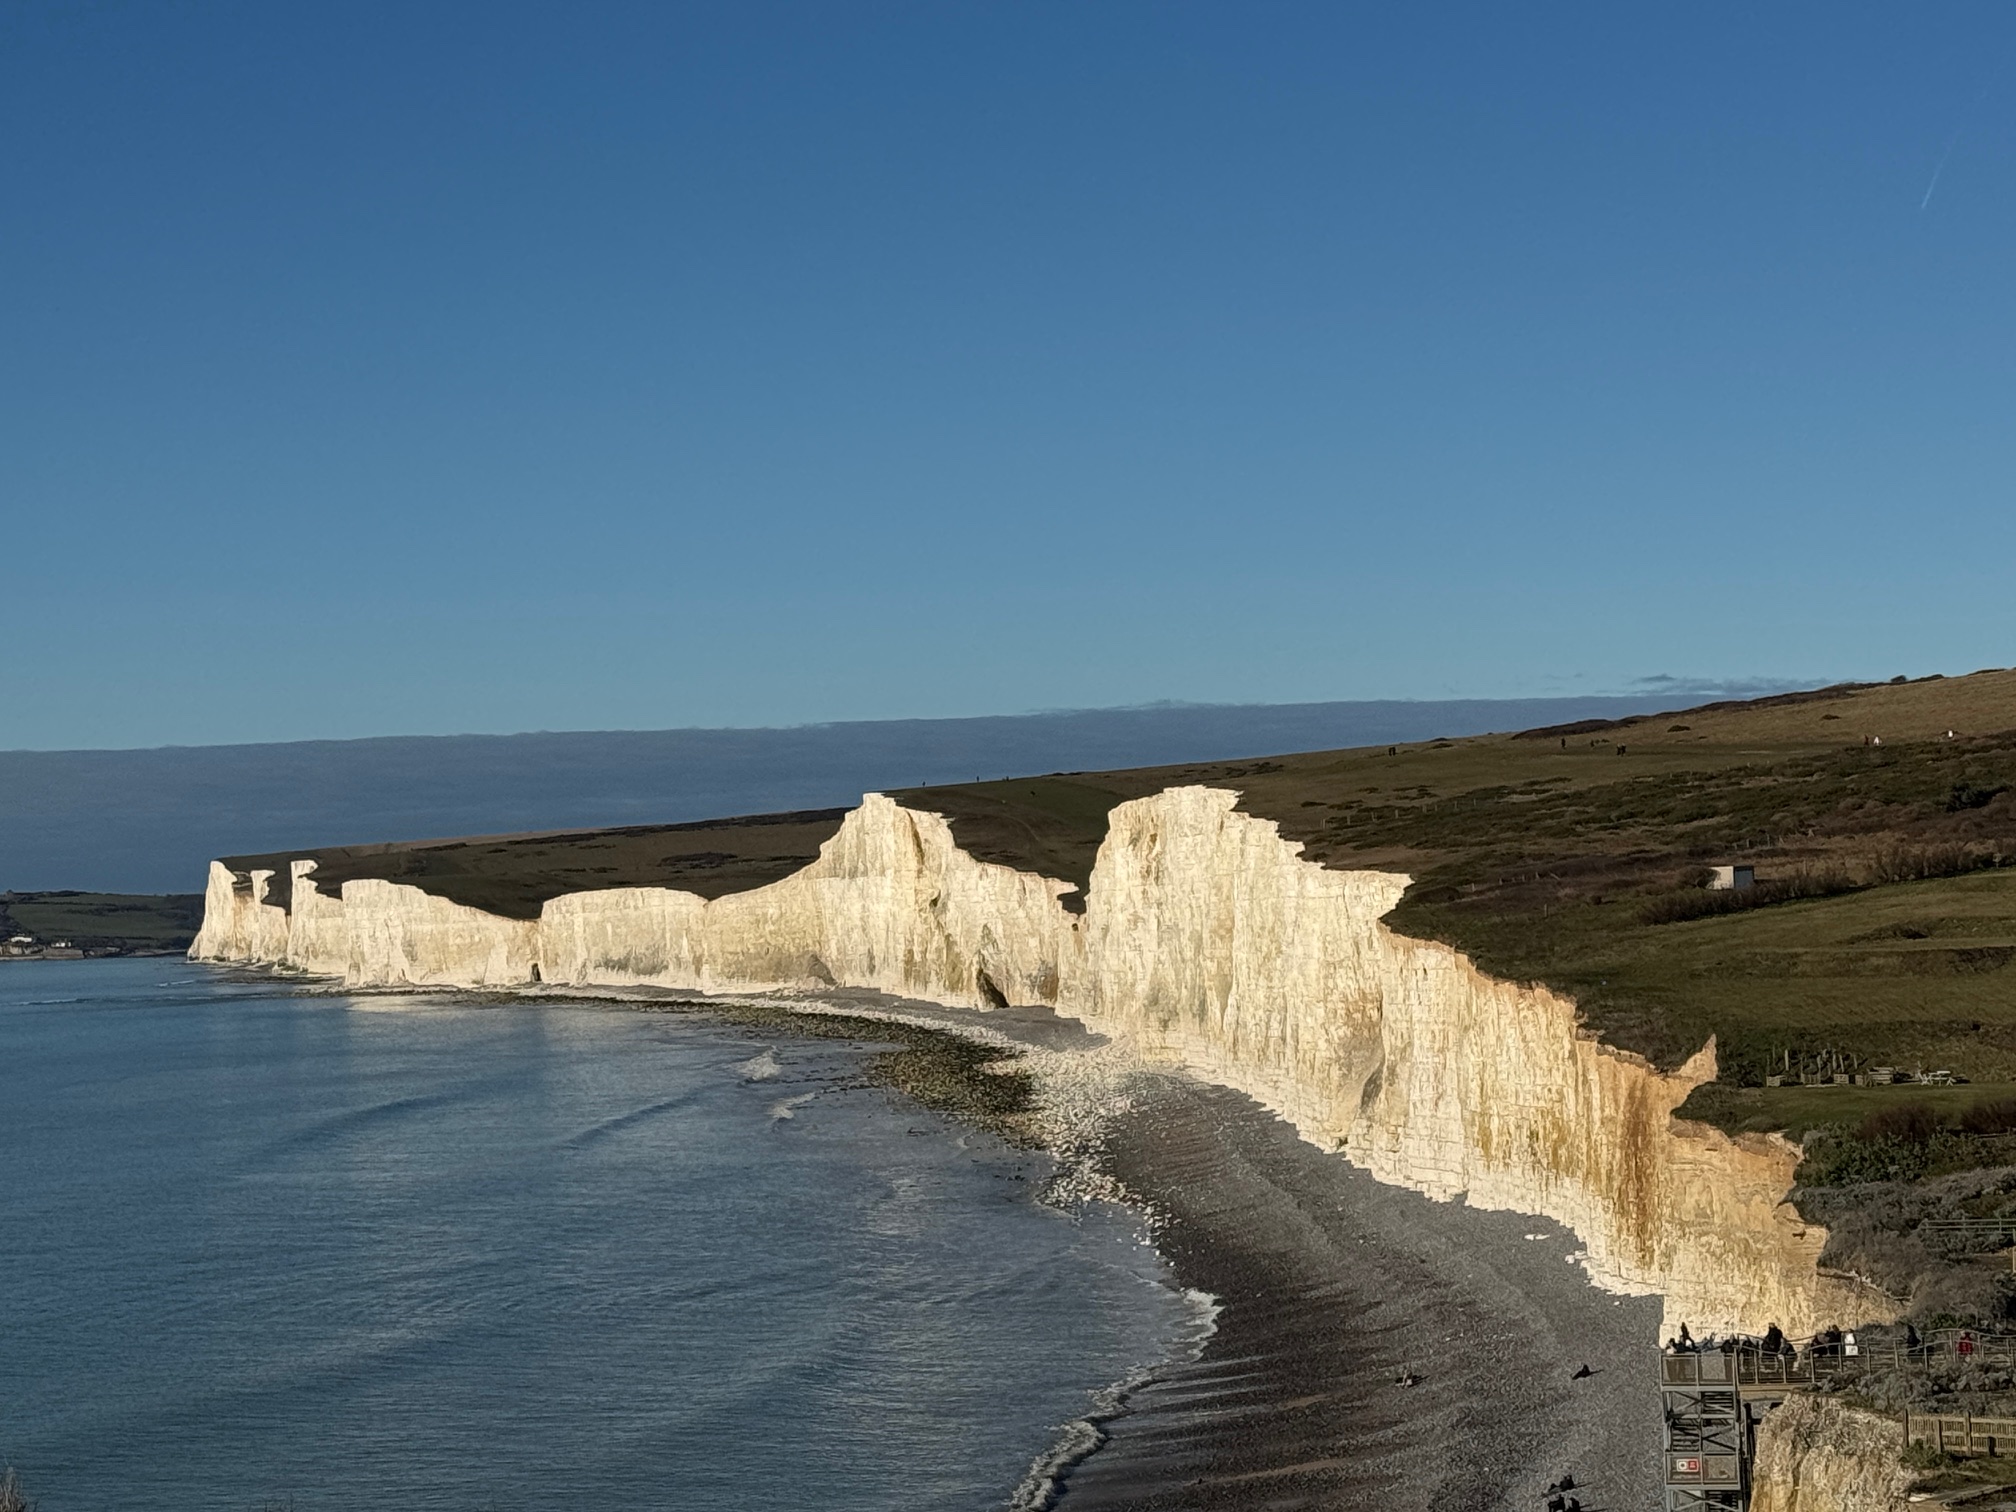
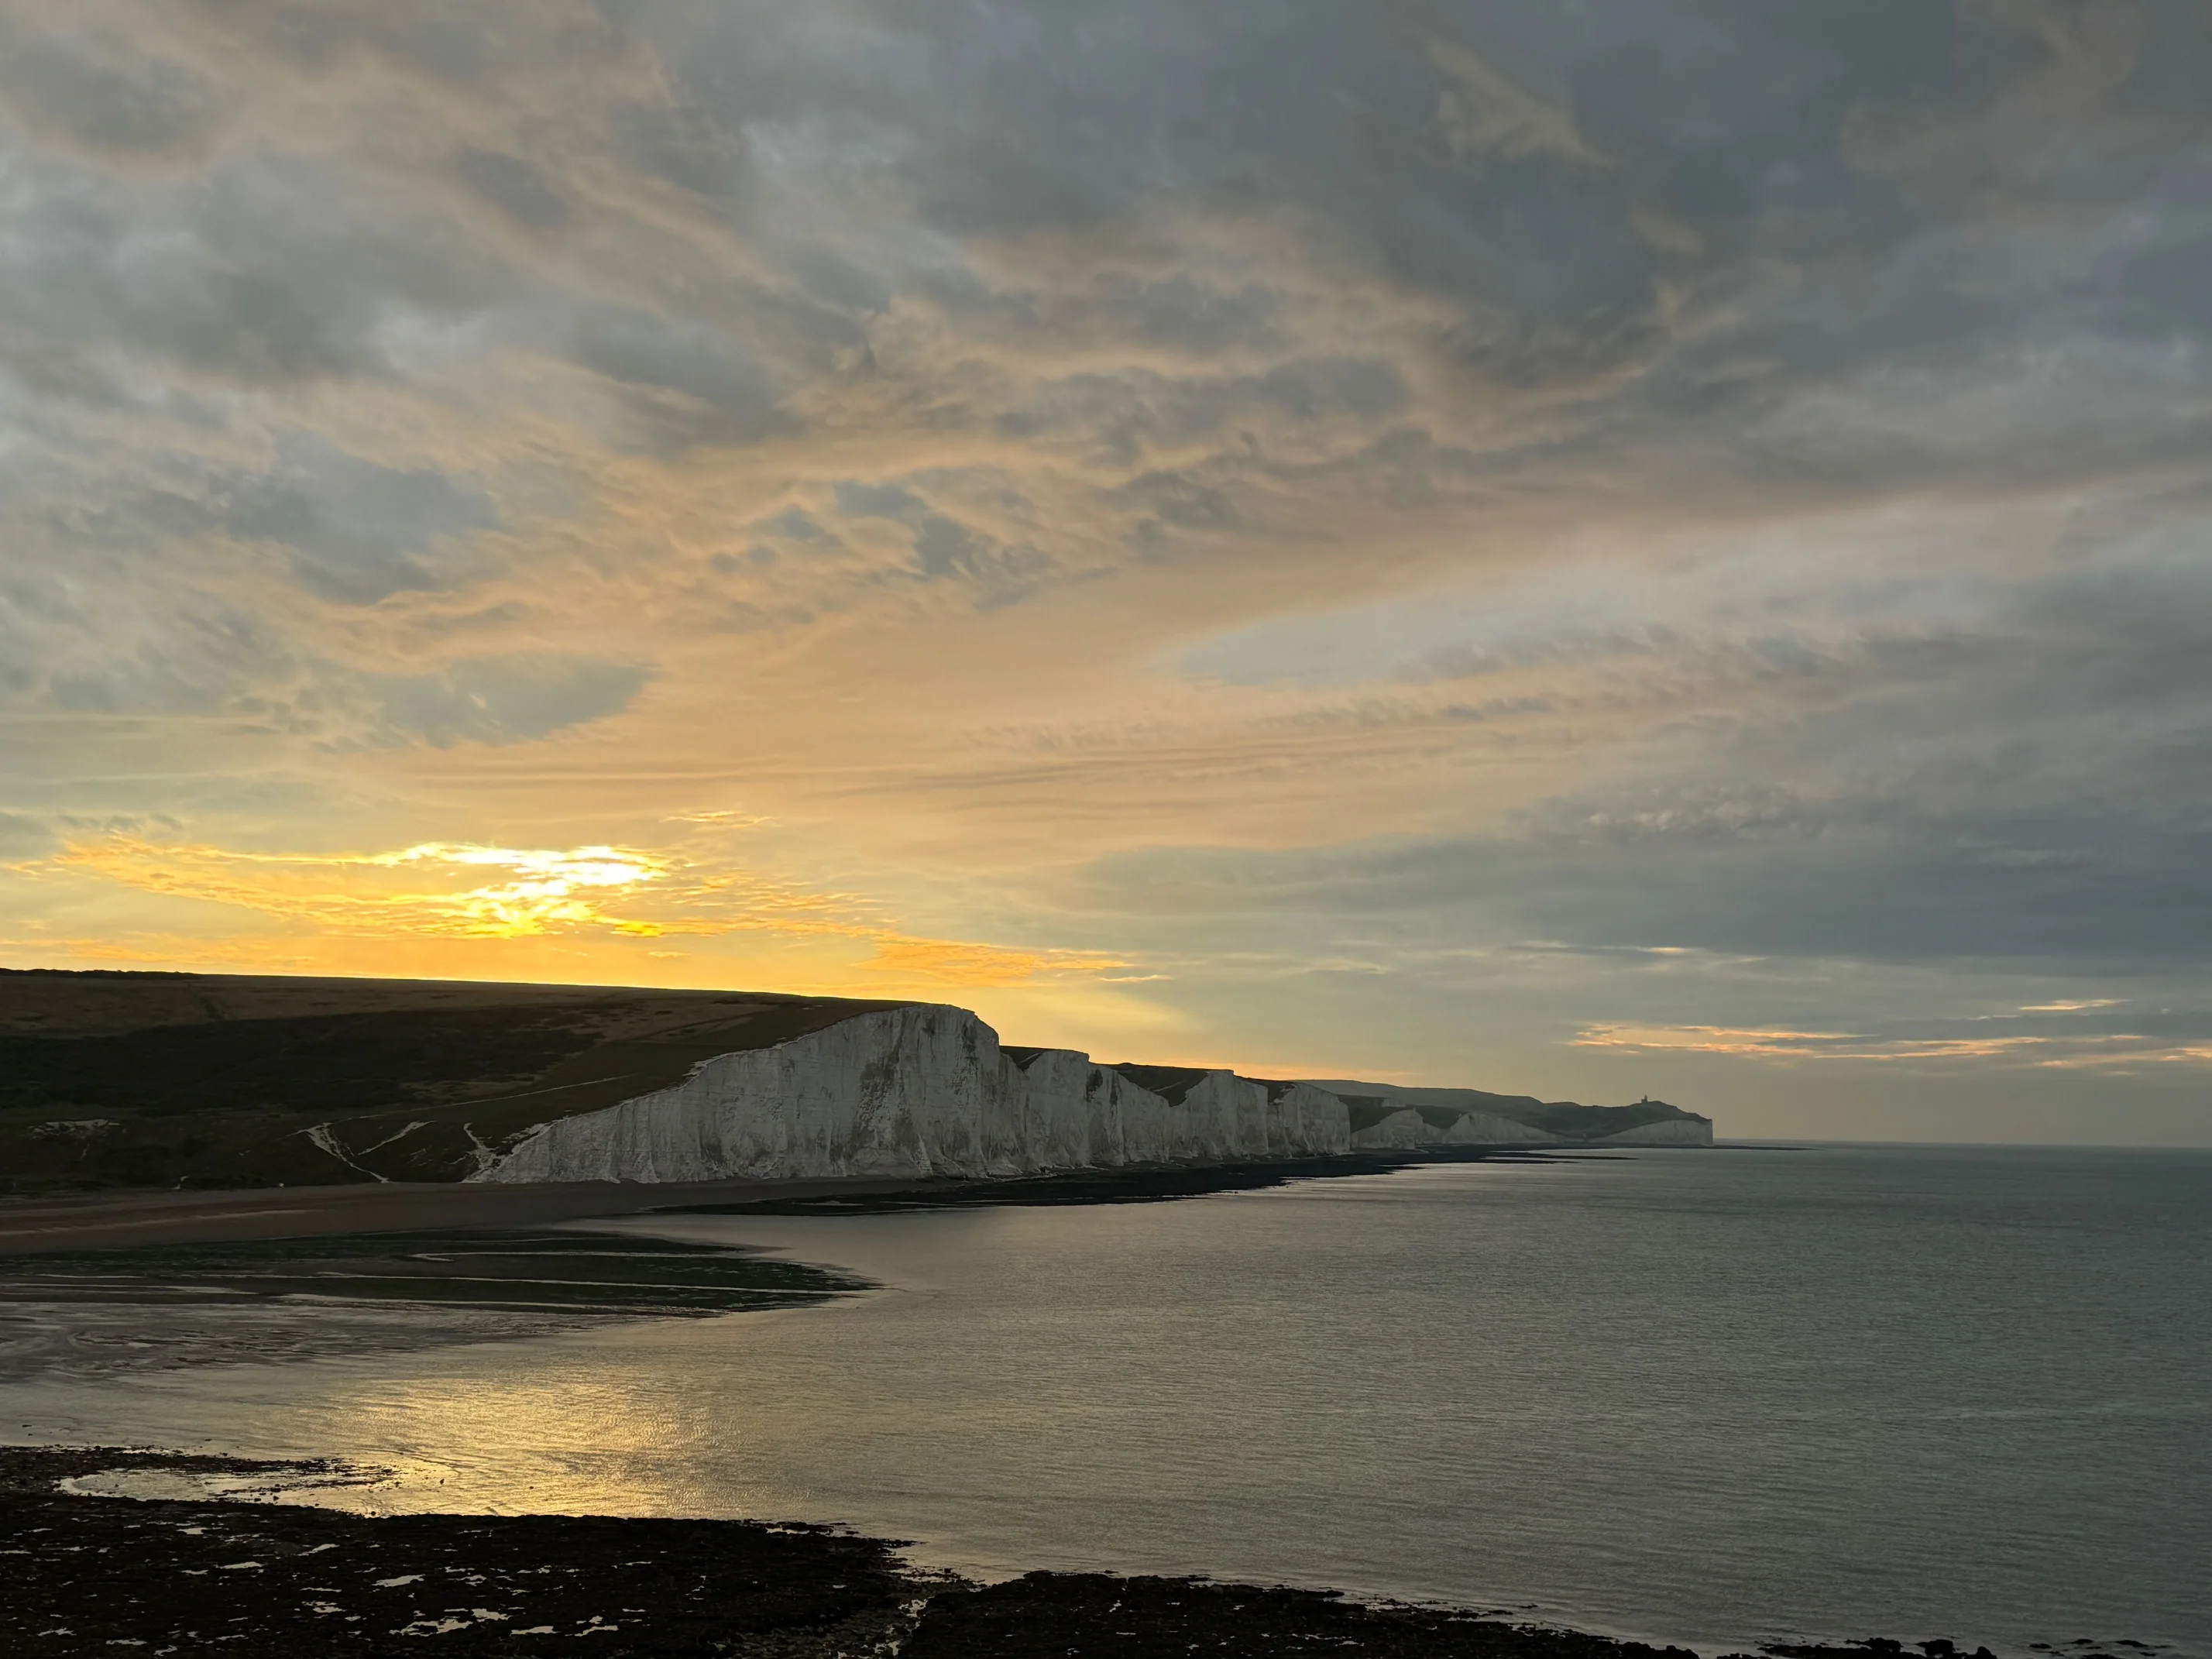
We weren't running. We were walking. Specifically, we were walking on the steep, loose, angular shingle beach below the Seven Sisters cliff face — a two-kilometre stretch of mixed chalk rubble, flint pebbles, and large rounded stones that sits at around a 15-degree gradient and moves under every step.
This is not terrain that trail runners are designed for. Trail runners are designed for compact dirt, soft forest paths, and occasional rocky scrambling. What they are not designed for is sustained walking on angular loose material that rocks the foot laterally with every step, drives flint edges against the upper mesh repeatedly, and forces the heel cup to manage a loaded lateral roll on every downhill stride.
We learned this empirically. Here's what we carry now and why.
What the Shingle Actually Does
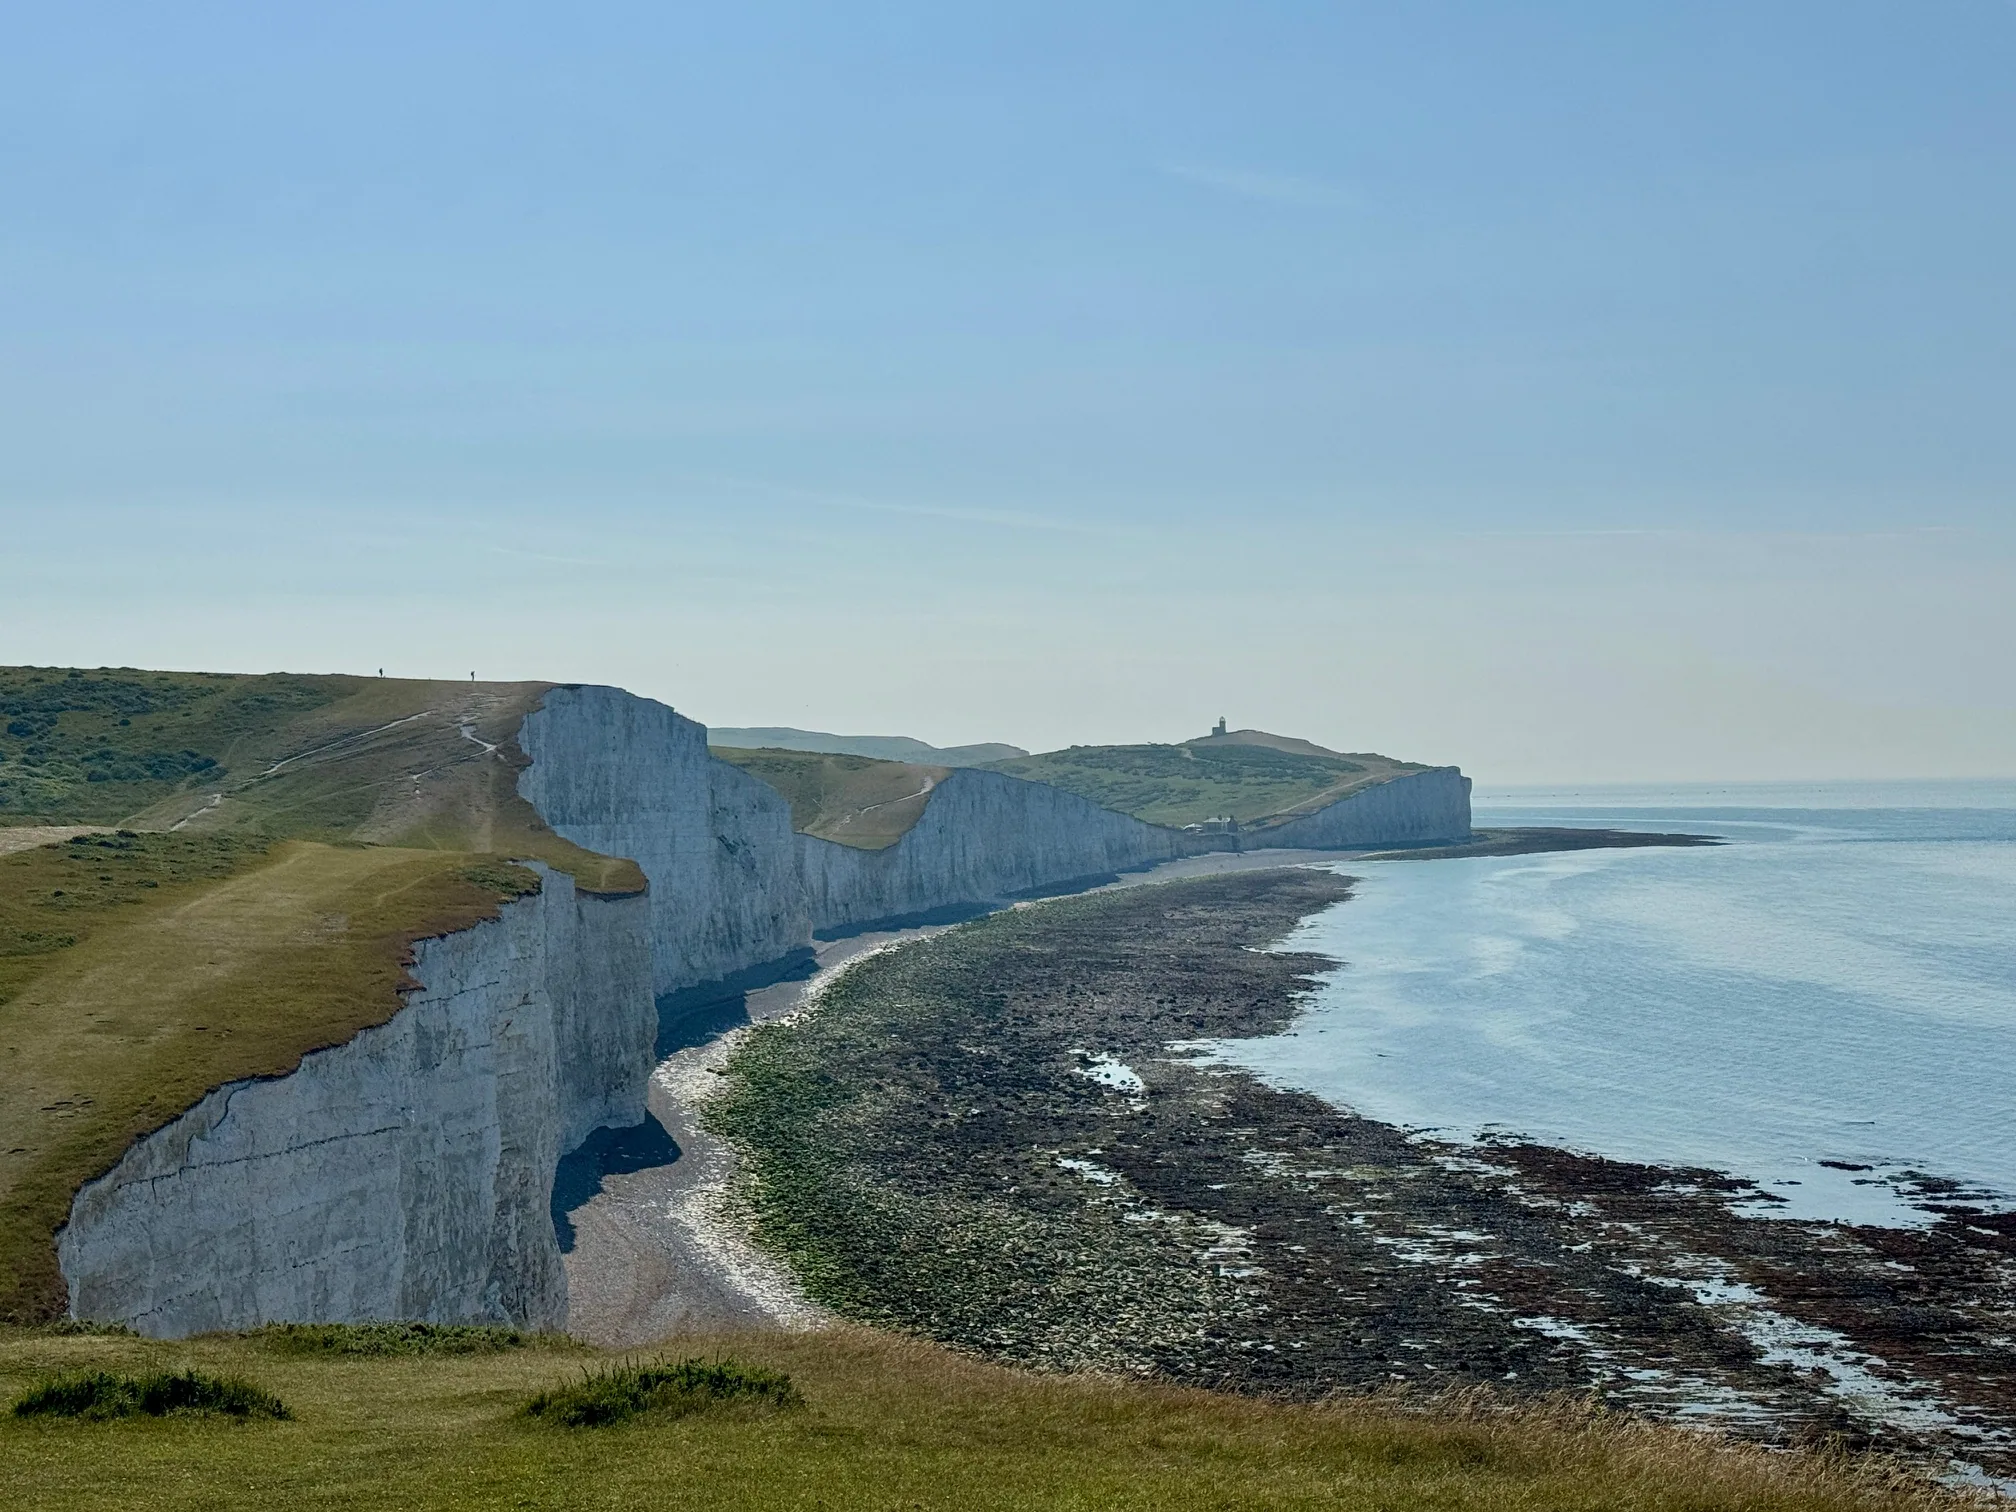
The beach section at Seven Sisters is not uniform shingle. The material changes significantly as you move between the cliff base and the water, and between different sections of the walk.
Near the cliff base — where chalk falls have deposited recent material — the surface is angular chalk rubble. Large irregular pieces, white and bright, that tip under your foot rather than compressing. The edges are sharp. Your ankle is constantly managing lateral movement rather than forward movement.
Further from the cliff, toward the water, the material transitions to smaller, rounder flint pebbles — the same material that gets ground down by wave action over years. This is easier walking but still nothing like a trail surface. The pebbles shift with each step, so your heel strikes at a slightly different angle every time rather than finding a consistent surface.
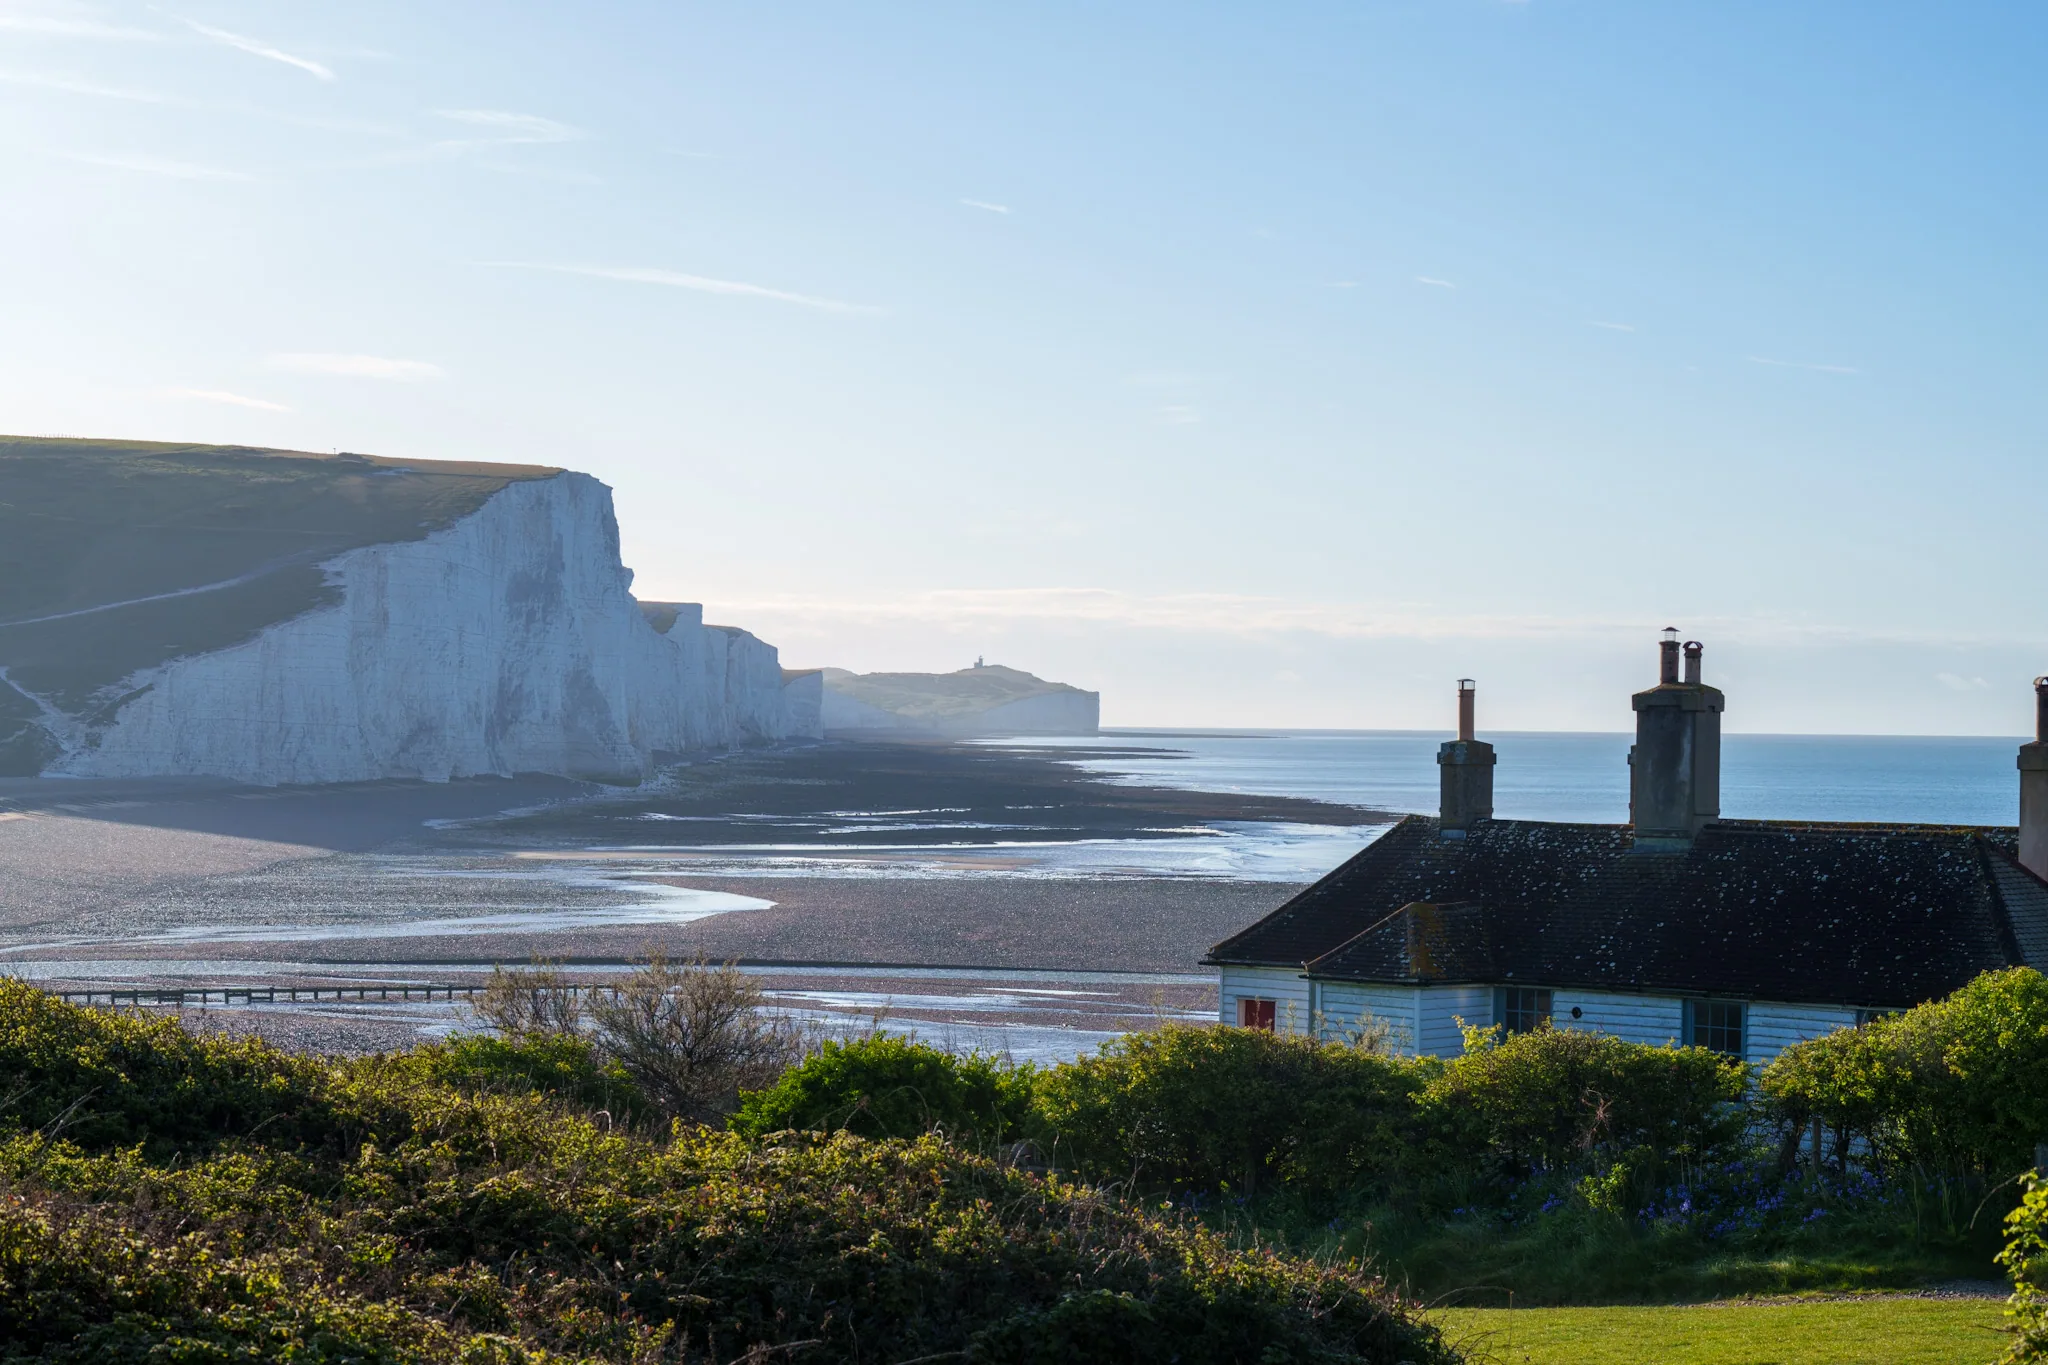
The gradient varies but is steep enough — 10–15 degrees in the steeper sections above the water line — that you're working your ankle stabilisers constantly. The beach and chalk platform below the cliffs is only walkable in sections, and only around low water — you drop down at Birling Gap or at Hope Gap and come back up the same way. Even a modest out-and-back is a couple of kilometres of ankle-stabilising work on a surface that provides no consistency underfoot.
What Fails on Trail Runners
The heel cup collapses because trail runners don't expect sustained lateral heel loading. The design assumes forward motion. On steep shingle descents, the heel strikes laterally first, loading the sidewall of the cup on every step. Over multiple walks this deforms the cup permanently — and once the cup is gone, the heel slides laterally inside the shoe on each step, creating both discomfort and real ankle instability.
The sole delaminates at stress points where flint presses repeatedly against the glued join between upper and sole. Flint is not granite — it's harder, with sharper natural edges. A flint pebble caught between your foot and the ground on a downward stride is applying concentrated force to the bonding material. Enough repetitions over enough walks and the bond begins to fail.
The mesh upper tears because the breathable mesh that makes trail runners light and comfortable is not designed to repeatedly contact angular, sharp-edged material. On the chalk rubble sections near the cliff base, the upper is in contact with edges that would cut fabric if given enough pressure. It takes more than one walk — but six was enough.
What Works Instead
Walking boots with ankle support. Not hiking trainers, not trail runners, not approach shoes — walking boots with a structured midsole, a stiff heel counter, and ankle coverage.
The ankle coverage matters because it prevents the lateral slide that leads to the heel cup deformation problem, protects the ankle joint during the unstable lateral steps on steep shingle, and gives you something structural to push against when the surface shifts under your foot.
The stiff heel counter matters because the shingle section loads the heel differently than forward-motion walking — you need the heel locked into position rather than free to move laterally within the shoe.
The structured midsole matters because it distributes the load from individual pebbles across a larger sole area. Trail runners have flexible soles designed to feel the ground — great for trail running, genuinely unpleasant after 2km of shingle where you're feeling every individual pebble through the sole.
The Specific Footwear Decision
For the clifftop path only (no beach section): Trail runners or hiking trainers work fine. The chalk downland path is firm, compact, and doesn't stress the ankle significantly. Many people walk the clifftop in trail runners without problems.
For any beach section: Walking boots with ankle support. Non-negotiable if you're doing the Birling Gap to Cuckmere beach route, the Hope Gap descent, or any shingle walking below the cliff face.
For wet conditions: Waterproof boots on both sections. The chalk paths become slippery when wet — not dramatically dangerous, but significant enough that waterproofing matters more than breathability on a wet day.
Everything Else We Now Carry
The footwear lesson was the one that cost us actual money. The rest of the gear decisions came from less expensive mistakes.
1.5 litres of water minimum, per person. The Birling Gap café is the only water source on the route. On a hot day it runs out of bottled water by early afternoon — we've been caught once, walking back to the car park in 25°C heat with no water for the last 45 minutes. Not dangerous, but deeply unpleasant and avoidable. We now carry from home and don't rely on the café for hydration.
A wind layer, regardless of forecast. The clifftop is consistently 4–6°C cooler than Birling Gap car park, and significantly more exposed. We've arrived in conditions that felt like t-shirt weather at the car park and found 25mph gusts on the ridge making that same temperature feel like early autumn. A lightweight packable wind layer takes up no space and has been used on more walks than it has sat in the bag unused.
Sun protection for both directions. This sounds obvious but the application matters. The chalk below you reflects UV upward. People who've applied sun cream only to their face and neck, walking toward the sea on a clear day, have ended up with the underside of their forearms and chin burned while the top of their head — covered by a hat — stayed fine. Apply to all exposed skin, including where you might not expect sun to reach.
Tide times checked at home. Not at the car park when you've already decided to do the beach section. If the tide is against you, you find out before you've driven to Birling Gap, parked, and walked 45 minutes only to find the beach access flooded or the return route cut off.
An offline map downloaded in advance. Phone signal on the clifftop is inconsistent. On the beach section below the cliff, it can be absent entirely. We use OS Maps with the route area pre-downloaded before leaving home. Not because we've been seriously lost, but because the one time we needed to check exactly where the path went after a cliff fall had rerouted it, the map app tried to load from the internet and failed.
What We Carry Now (Full List)
- Walking boots with ankle support: Specifically for any walk that includes a beach section. Non-negotiable after the trail runner lesson.
- 1.5L water per person, brought from home: Don't rely on the café. On hot days it runs out. On any day the queue is 20 minutes long.
- Waterproof and wind layer: Packable, light, always in the bag regardless of forecast. The forecast is for Seaford, not for the exposed clifftop.
- Sun cream applied thoroughly: Include the underside of forearms and the area under your chin. Chalk reflection is real.
- Tide times noted: Check before leaving, not at the car park. Write the key times on your phone notes so you're not re-searching with no signal.
- Offline OS map downloaded: The area from Birling Gap to Cuckmere Haven, pre-downloaded. 5 minutes of setup at home that has been worth it multiple times.
- First aid basics: Blister plasters particularly. The shingle section creates friction points on ankles that even good boots can struggle with on the first walk of the season.
More Seven Sisters Practical Guides
For the full route guide including the beach section and what to expect underfoot, see our Seaford to Seven Sisters walk guide. For what happens when you get the tide timing wrong on the beach section, see our first-hand account of getting the tide wrong at Hope Gap. For the full weather and conditions guide, see our Seven Sisters weather guide.
We may earn a small commission on bookings made through this link, at no extra cost to you. More info.
£4.99 · 24-page PDF · Instant download
The Seven Sisters Ultimate Guide
The complete 24-page companion built from first-hand walks — every cliff, all four graded routes, tide windows and a parking strategy. Designed to work offline, right on the cliff top.
- All 7 cliffs — heights, geology & viewpoints
- Four graded walking routes, fully mapped
- Tide windows, light calendar & day plans
- Parking strategy & seasonal planner
Just want the basics? Download the free 2-page walk guide
Want an expert-led Seven Sisters tour?
From guided cliff walks and wildlife safaris to geology hikes and photography tours — explore all our curated experiences with local guides.